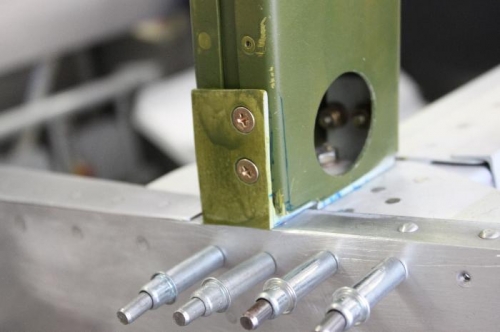
Brief Description: #1 F-631 Roll Bar AN509 attachments
Used the RV7 plans to position the countersunk AN509 holes on both sides. Top hole is centered down 3/8 from the top and in 9/32 from aft side. Bottom hole supposed to be 11/16 from bottom of angle but that did not leave enough safety margin for me after I had notched out the inside bottom of the roll bar to fit over the 3/16 mounting angle. So I centered the hole 13/16 from bottom, giving me 3/8 safety from bottom of roll bar metal (2 x diameter of 3/16 AN509 screw). Drilled #40, #30, #19, .187 reamer. Countersank with #12 pilot countersink. Then, I vixen filed the angle to conform to the fuselage shape, eliminating the overhang and shaping it to transition nicelly. Having removed about 1/3 of the aft end of that angle, I re-countersank the holes to fully accept the flush screws. Sort of strange to have the countersink not square to the outer surface, but square to the roll bar. The countersink hole gets slightly elongated because of that. Scoth brited, degreased it and shot it with etch primer. I think I'll wait on the forward two holes until I fit the top fuselage skin.
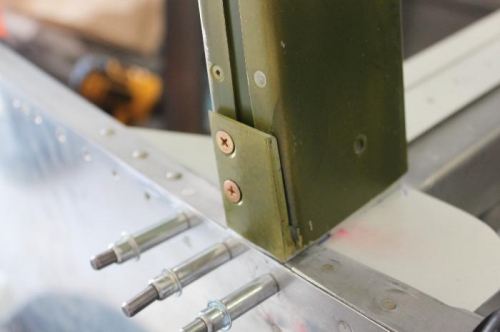
No more overhang of the 3/16 angle. Filed flush and contoured to fuselage shape.
See how the angle narrows on the aft (left) side after shaping.
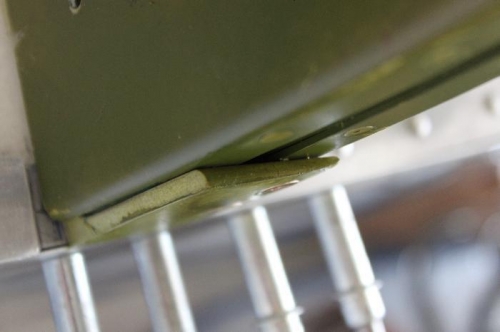
That Vixen file leaves a really smooth surface as it reduces the thickness. Scotchbrite finished it.