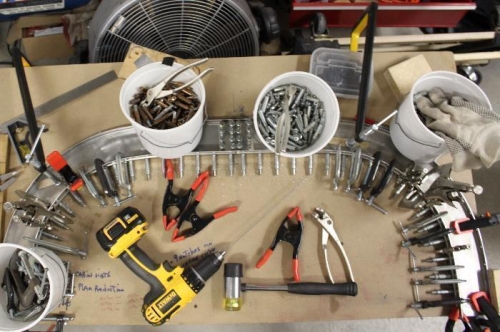
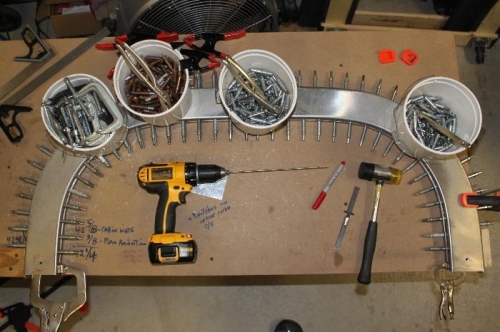
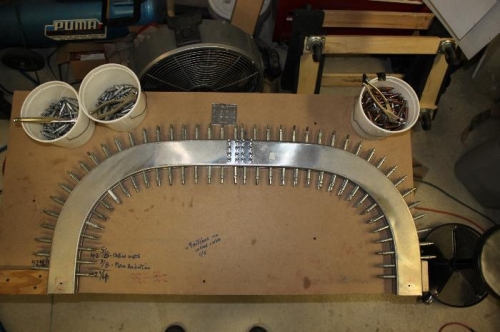
1. Screw down some wood blocks at 0 and 42 1/4 to ensure the final size. 2. Measured 5/8 flange and marked it all along the F631A pieces. There is uneven flange width along the whole F631, perhaps from the bending/forming process at Vans. 3. Vixen filed and belt sanded the flanges down to the 5/8 marking for nice parallel lines of top and bottom half when riveted to the spacer strips. 4. Ran a marker down the flanges at 1/4 inch from finished outer edges to determine rivet line. 5. Used rivet spacer at 1.5 inches to mark all rivets on all flanges. 6. Pre drilled all marked holes to #40 in all flanges. 7. Scotchbrite wheeled the mating edges of the joining strips so they lay nice in the curve of the F631 flange. 8. Made new connecting squares and predrilled 16 holes #40 then match drilled to the middle of the two F631A halves. Used the RV-7 plan dimensions for the connecting plate holes. 9. Screwed down the two halves through 2 tooling holes and weighted the thing down with buckets of clecoes. Cannot achieve vertical 17 7/8 during assembly. RV7 plan says 17 19/32. Can do that. 17 7/8 is installed height with tilt back. Will show that later. 10. Positioned the inner joining strap and worked from the middle outwards each direction with clamps and match drilled through the previously drilled holes in the F631A flanges. 11. Always tapping down on the joining strap to ensure it bottoms out before clamping and drilling. 12 Temporarily remove the wooden sizing blocks to drill holes that were covered up. Stop for the day.