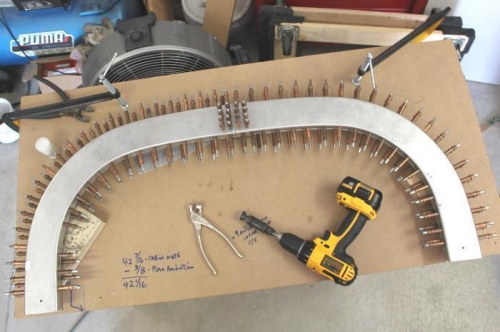
Enlarged all the #40 holes I started with , to the plan #30. I used a #30 reamer instead of a #30 bit and I really liked the difference. The reamer leaves precise, clean holes and it enlarges from #40 to #30 easily. I kept my beloved Boelube powder close and dipped my reamer in it for nearly every hole. Stuff is great!. Then it came time to countersink the rivet holes so I started with the aft halves that get CS4 pull rivets, and used the 120 degree #30 piloted countersink from Cleaveland Tools. Very nice. Once you set the proper depth for flat surfaces, I found that depth not to work for all the ''inside curved areas, where the curvature prevented a proper depth for the countersink cage. What worked was to unlock the countersink and counting notches as you go, turn the end in by 9 notches( expose more of the countersink) and it will then give you perfect countersinks on the inside curves of the F-631 roll bar. That particular cage had V teeth notches. Others I have have slots instead of V teeth. The outside curves needed two additional notches of depth to the countersink cage from the initial flat depth. The front half gets 100 degree countersink for squeeze rivets. I will cut the 1.5 inch diameter access hole on the aft halves so I can get to the bolts that will hold this roll bar to the F605 crossmember. Ready for the primer box after those two holes..
Reamed #30 all the initial #40 holes.
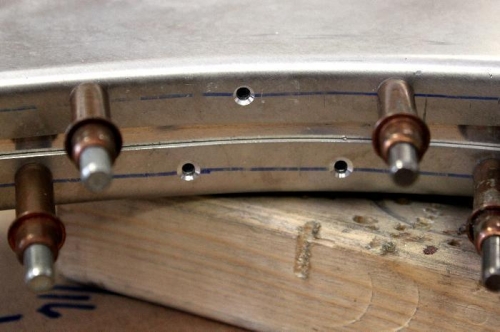
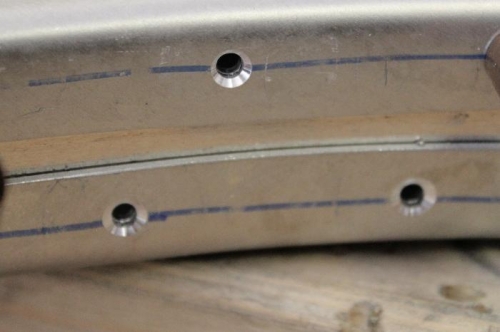
For inside curves I added 9 notches of depth to the countersink cage.
120 degree CS4 countersink on bottom. 100 degree rivet countersink on top.