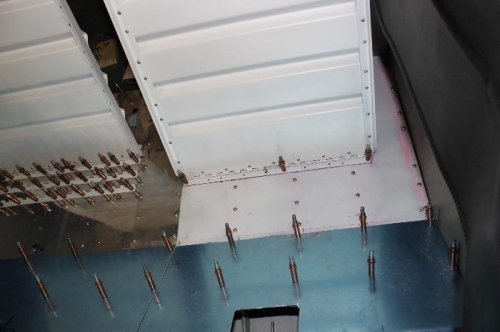
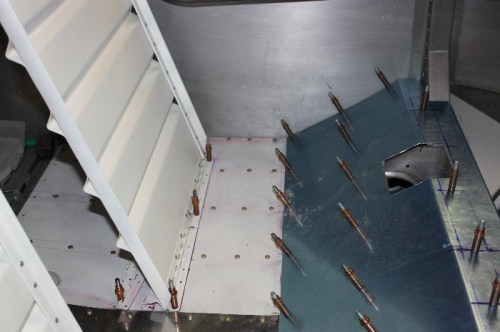
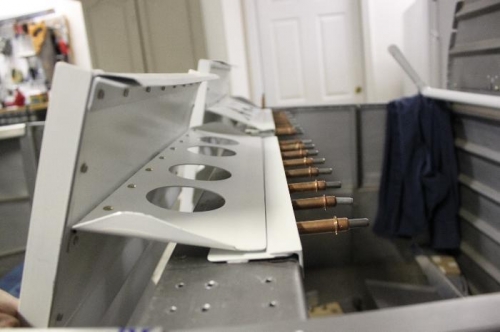
Chalk up another 43 nutplates for the pilot side seat pans. This time it went much easier. First, I marked the floor pan with the rib locations. Took the floor pan off and drilled #30 holes spaced like the co pilot side. Marked the rib flange centerlines and then made sure I had those centerlines in sight before I match drilled the rib flanges. Standard stuff just like the old non prepunched skins. Worked well and then proceeded to drill the nut plates in place. Opened up the nut plate holes to #19 and started squeezing them in place. Again, because of close clearances on the rib next to the fuselage side, I used a tap to relieve some of the nutplate tension. The screws still tightened down nicely. Installed the seat back retainer to match the seat location once the floor pan was screwed down. When time comes to remove all the pans for painting I will not complain about the 150 or so screws to remove all 6 floor pans (2 baggage, 4 seat pans).