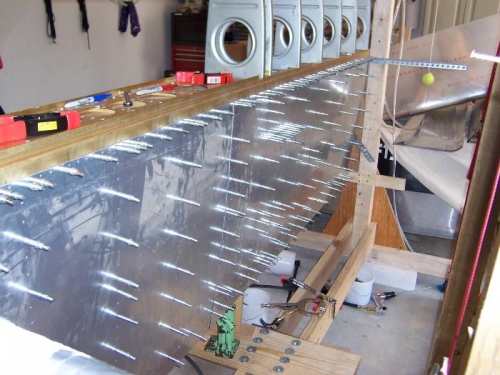
I know I said I would use #40 to drill through the ribs and I did that on the bottom skins. On the top skins, I practiced on a scrap piece of aluminum and felt that using a #41 bit resulted in a nice fit after dimpling. The #40 fit well after dimpling too, but the #41 felt tighter, so I am using #41 on the top skins. We'll see when I get to the riveting if it really makes any difference. The rivet squeezes tight when it is bucked. We'll see. Finished drilling and mounting the top skins and the wing walk doubler under the inboard top skin too. I am very pleased with the overall results of mounting the skins. It goes to show you that if you take the time to square everything up and double check the wing incidence with the plumb lines, the wing skins mount exactly like they are supposed to. No drifting. No drooping. No drill hole creep towards the edge of the overlapping skins. I'm happy. Corona time.
It would be nice if the spar was a little wider so I could have more space to lay tools
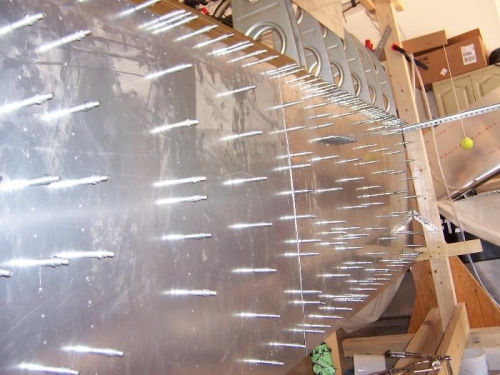
Had to borrow clecoes from the bottom skins. Any more progress and it will be 4 clecoes per skin
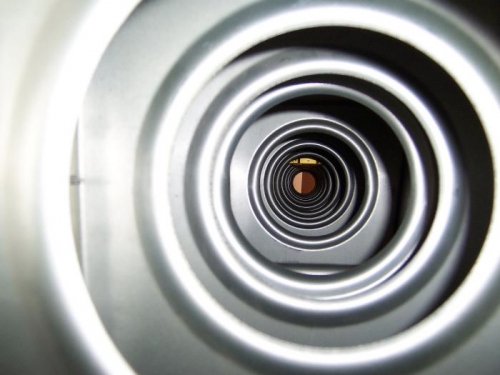
Don't know why people do this but its neat to see all ribs lined up.