
|

|
|
|
Wendells RV-6A
|
Date: 5-4-2009
|
Number of Hours: 5.00
|
Manual Reference: Mount Bottom Skins
|
Brief Description: Mounted bottom wing skins and drilled all the hole
|
|
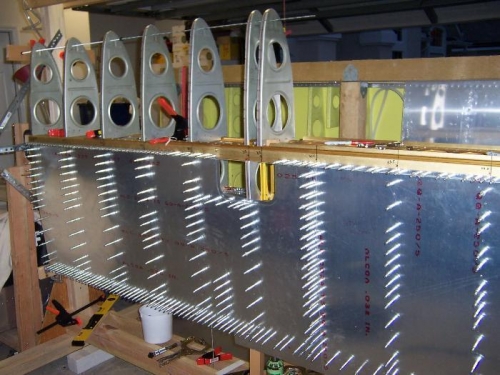
Double checked levels lengthwise, crosswise and wing incidence plumb lines. Everything checked out. The difference between the two plumb lines was 1/32, but that looks like it works well. I can tell that it would have been easier checking plumb with the 'drilled hole" set up as you can visually see if the plumb lines were centered in the 1/8 inch holes. My way makes you take the measuring tool and slide it up and down the rear spar flange (which is curved so you are looking for the high spot), watching as it hits the high spot on the rear spar flange and see if ithe measuring tool just touches the line. Works ok. Mounted the bottom skins, made sure the ribs were centered under the prepunched skin holes and started at the top middle, working out to the two ends, then start in the middle down one row repeating the process until I eventually got the the bottom where the last row of holes were drilled into the rear spar flange. Some builders say to use a #41 drill because you are going to dimple all these holes later. Enough of the sage advisors at VAF say use #40. I used #40 and drilled, drilled, drilled. I ran out of clecoes which means I used about 450 here. I started skipping using clecos now and then to save clecoes for the last row where I drilled into the rear spar. Got finished before dinner and puppy feeding time.
Top skins tommorrow, then leading edge skin, then tank, then flaps then ailerons. No problem. I am cooking now.
|
|
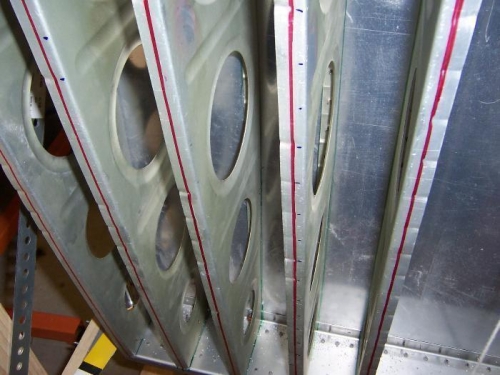
Wing Walk Ribs Close for Strength
|
|
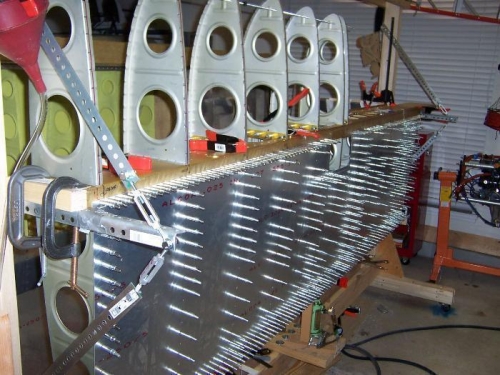
Bottom Skins Inboard and Outboard mounted
|
|
Ran out of Clecoes and borrowed some from middle of wing.
|
|
|
|
|
|
|
|
|
Copyright © 2001-2024 Matronics. All Rights Reserved.
|