Brief Description: Use skins to place rib locations correctly
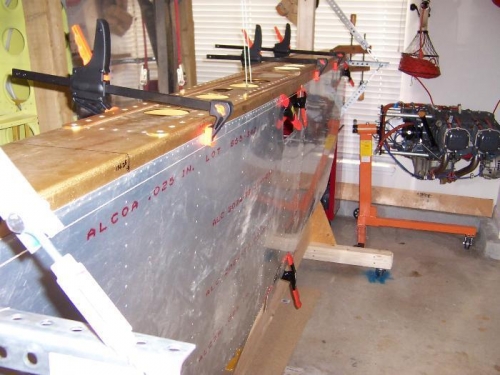
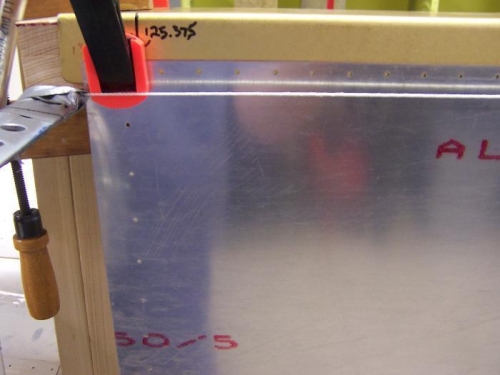
Today I reset the spar in the jig. Then I leveled it end to end, front to back and ran a string line from end to end to be sure the spar did not sag in the middle. It did by about 0.25 inches so I temporarily tied it up rather than rig a jack from below. Eventually I will set the rear spar onto the bottom of the main ribs and then I will use a small bottle jack to push up and keep the spar from sagging. That is important when it comes time to drill the spars to the wings. To place the skins correctly you have to mark a line 1/2 inch from the bottom of the main spar flange from end to end. I set a combination square at 1/2 inch and slid it along the spar with a red sharpee ultra fine point nestled on top of the 1/2 inch square making a perfect line as I slid the square across the bottom of the spar flange. Line up the skins, overlapping them where they meet in the middle using a marking hole in the inboard skin to line up with a matching hole in the outboard skin and voila. Then you can begin to mark the mounting location of each main rib. More on that later.
Clamp skins to spar along marked line.
stretch a line end to end tight at bottom of spar flange.
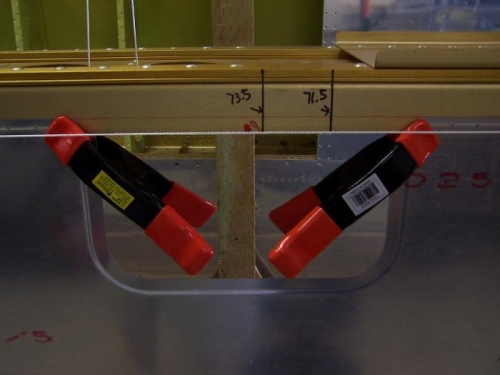
Pre flanged access opening in wing skin. Rib at 73.5 (#9) gets much work done to it.