
|

|
|
|
Wendells RV-6A
|
Date: 2-22-2021
|
Number of Hours: 8.00
|
Manual Reference: Wing Tip
|
Brief Description: Continue installing wingtip
|
|
Continuing,
9. You decided beforehand how long to make each hinge. For me, the upper hinge ends at the end of the wing skin. This makes it overlap the wingtip rear metal rib by about 5 inches. The lower hinge overlaps the rear wingtip rib by about 2 inches. The rib flanges are in the way there so I cut the interfering portion off, used some thin angle and riveted those on facing the opposite direction and positioned to snug up to the P4 hinge for riveting. I've seen some hinges that just end at the beginning of the rib so none of this has to be done. I wanted a stronger attach area so thats what's involved.
10. Just forward of the rib tooling hole, drill two #19 holes to push the hinge pins into. You mark and cold bend a 90 degree turn with about a 1 1/2 inch bent portion resting in those holes. You use that bend to grasp and pull, rotate, push the hinge pins in or out.
11. About 2 inches forward of those holes, you install a #8 nutplate on the backside of the rib. Cut two single hinge eyes as guides, Install them on the hinge pins prior to inserting the hinge pins in place. Install the pins, pivot the 90 handles into their holes and align the 2 hinge eyes over the #8 hole and mark the center of each so you can drill them out to #8. Screw them in place and you are done..... for now.
12. I taper-ground the insertion end of the hinge pins about one inch to allow easier insertion, especially up at the forward end of the hinge where it curves a little. That taper extends out the front of the last eye about 1/2 inch when secured.
|
|
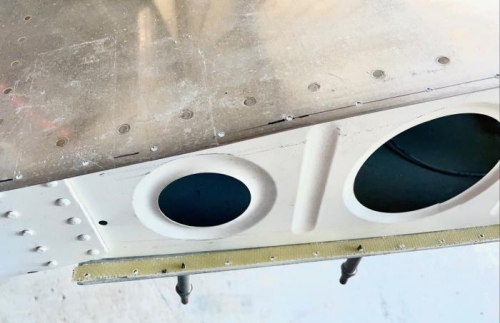
The cutoff fiberglass wing tip edge re-clecoed to wing. Hinge will be added ontop of this to rivet
|
|
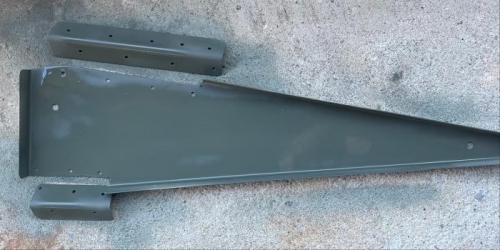
Making replacement rib flange to face opposite and clear the hinge eyes.
|
|
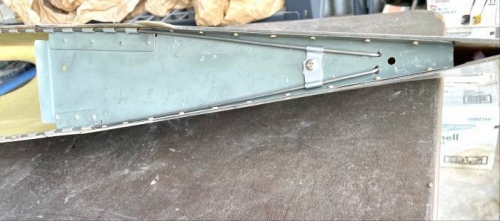
Attached final hinge pins and guides.
|
|
|
|
|
|
|
|
|
Copyright © 2001-2024 Matronics. All Rights Reserved.
|