Brief Description: Air Vent Mounts and Installation
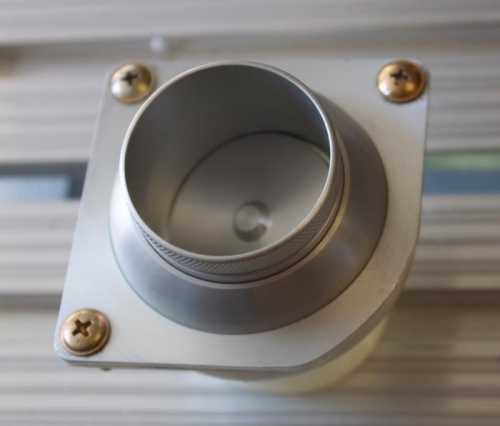
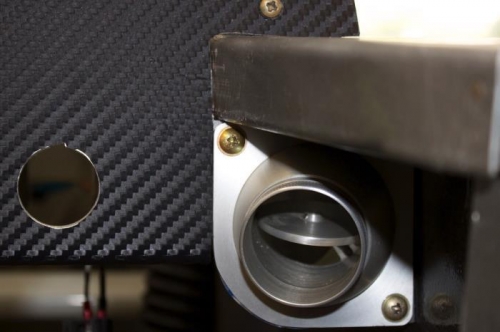
Cut lower inner corner of each vent and fberglass collector and drilled for #10/32 screws/washers and lock nuts. Used a hacksaw and cut mating panel edge with panel in place. Crude, but effective and finishes up nicely. Riveted side wall brackets in place then installed screening in NACA vent with a glue gun to hold the overlapped screen edges, added vent hose, clamps and test fitted. Fit real well. I made and riveted in place a nut plate brace which riveted to the lower instrument panel on each side. That device backs up the screw above the curved edges and secures the vent tightly.To get the vent to be flush with the instrument panel requires taking the fiberglass collector flange into account. It took two pieces of aluminum, riveted together to set the nut plate forward enough to account for the fiberglass. I will add some sealant between the fiberglass collector and the vent metal to create airtight connection with the vent closed.
Trimmed up the lower inboard corner and all mating edges.