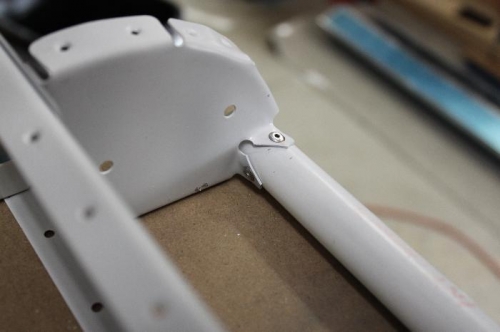
Riveted skeleton together just like the original right aileron. The inboard mounting bracket and rib required some more work. The bracket was drilled to 3/16 for the 3 mounting bolts. The middle hole lies inside the end rib, requiring cutting a half moon access hole so you can put the nut and washer on. I test fitted a washer under the 3/16 cleco and noted that the end rib flange needed to be trimmed so the washer won't sit cocked half on the rib flange and half on the aileron spar. So I marked it and will take it off and make the slight cutout for the washer. The measurements on the bracket call for 1 5/8 inches from the centerline of the tooling holes to the centerline of the 3/16 hinge hole at the bottom of the bracket. I matched that dimension. However, the dimension from the bottom of the skin to the same hole should be 5/16 inch. Mine measured 11/32 so I guess thats close enough. I included some different shots to view because the earlier aileron pictures showed a lot of detail. When the outer mounting bracket arrives, I will drill and mount it. I noticed that on the inner bracket, the hole pattern is not the same as my original parts. Its a good thing I did not use the original brackets as a pattern. They will stay with the original right aileron as I decide what to do with it.
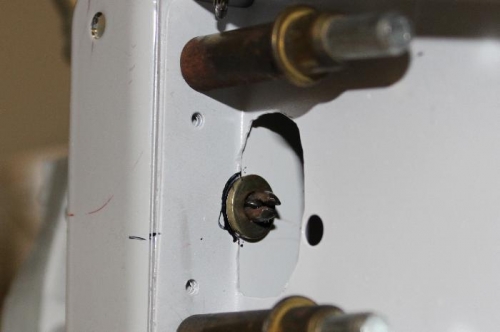
LP4-3s hold the galvanized pipe to the nose rib.
Marked where the end rib needs to be trimmed for the middle bolt washer.