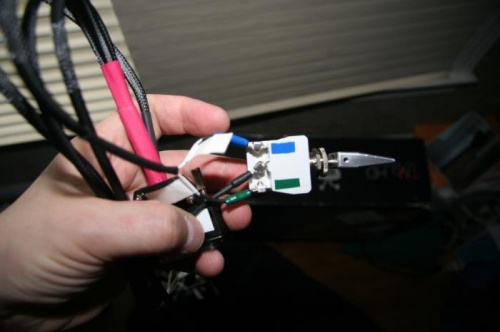
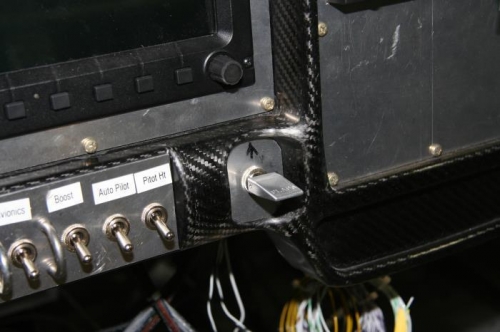
Brief Description: Completed Flap Switch and wiring harness
I rewired the VP-X wiring harness since I made a mistake and routed all of the roll/pitch/flap switches to the stick control, forgetting that I was going to use a panel mounted flap switch. Tested and installed flap switch.
I also reconfigured the VP-X and changed the A/P disconnect to tie into the Avionics Master. Dynon recommends to keep servos powered and use the stick grip disconnect to disable the servos. Removing power causes a warning to appear. I now have an extra switch that I can easily repurpose with a simple VP-X configuration change. Gotta love software.
Getting close to finishing up the wiring. Here is what is left to do before going to redo the canopy:
1) Resolve problem with Com2 - won't transmit. (Contact Stein) 2) Route wiring for roll/pitch trim to stick, Install mini-splice block near stick grips 3) Tie both PFD/MFD audio together per Dynon instructions 4) Tie GTN GPS validated output to Skyview Transponder (2020 mandate) 5) Run ELT telephone style wiring back to baggage area 7) Zip tie secure all wires aft of baggage compartment 6) Install control stick and wire grips 7) Run engine controls into cockpit