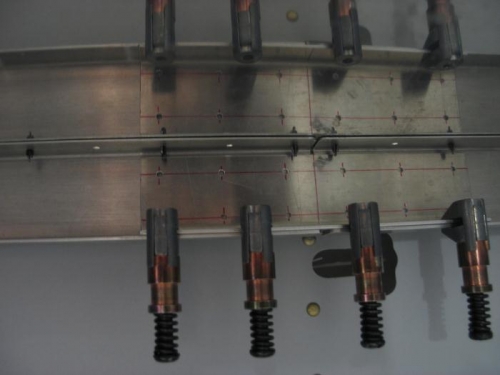
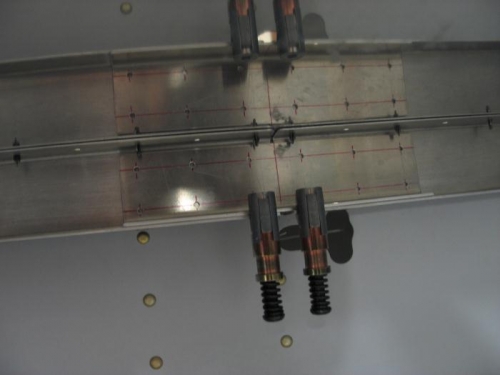
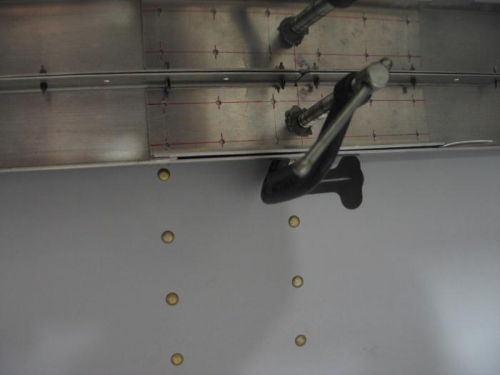
Brief Description: Initial fit of C-614 Canopy Splice Plate.
nitial fit of the C-614 canopy Splice Plate. Image 1 and 2 show how I initially clamped the Splice Plate. Clamping the Splice Plate flange to the canopy frame lower channel flange resulted in an altered and undesirable fit of the canopy frame. The frame would bow outward and be to wide. Ultimately I clamped the splice plate as seen in image 3. This makes adjusting the canopy frame width easier.
My thought was that no holes or rivets are drilled through the flanges so why is it important to have the flanges nestled together? Well, later I found out that the Canopy Reinforcement Kit gets drilled and attached through these flanges. The reinvestment kit was an after though by VANS, so my drawings don't show any rivets going through these flanges. Later you find this small print of the kit and see rivets do indeed go through these flanges. So, maybe it is a good idea to have them nestled together. The rivets used will be pulled rivets. They are not strong enough to close the gap between the flanges. We'll see what happens.