Brief Description: Flap - Rivet flap skins. Part 1.
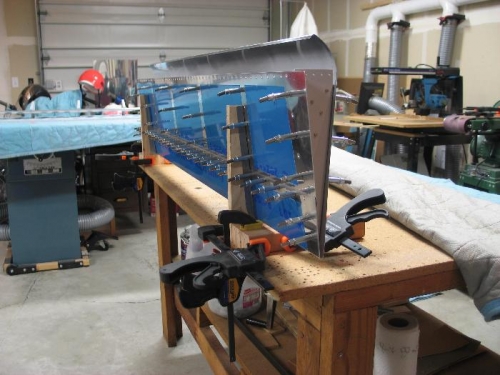
After the doubler plates are riveted and the ribs are riveted to the rear spar it's time to cleco both skins to the ribs. Leave the main spar off to gain access to the inside for the bucking bar.
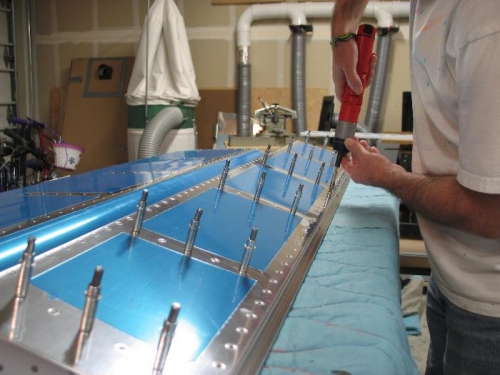
Image one shows me using an electric screw driver and counter sink bit to increase the depth of the dimple on along the rear spar. The top skin sits on top of these and didn't seem to sit down flush even though I edge rolled the top skin.
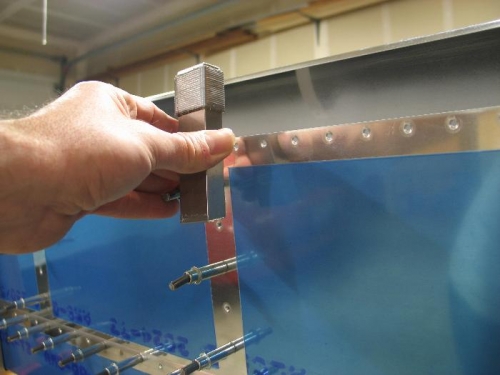
So, I used my tungston bucker bar for the whole flap. Do I like it. Yes I do. If you don't have one of these guys, then get one. Really. I consider it a must have now that I've used it.
You can see that I wrapped one end with duct tape, thick enough to hold that end off the surface so the bar lays perpendicular to the rivet. It really did make easy work of riveting the skins. You have to plan the sequence and order of the rivets to set to make good use of it but a little thought and a strategy becomes apparent. A joy to use.