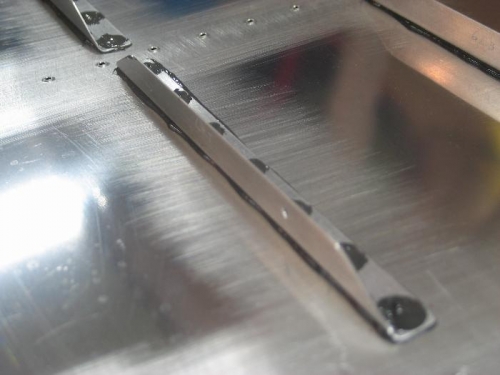
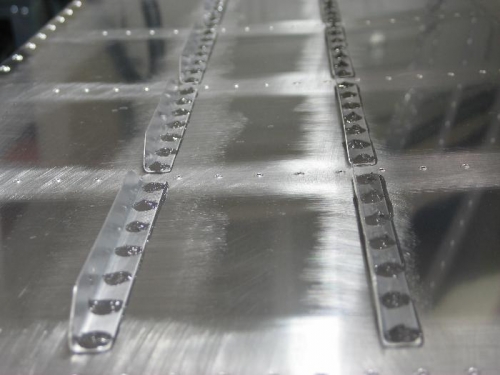
Riveted stiffeners on the second tank. This tank went mush better. Interesting that you gain insight on how to work with Pro-Seal with a little experience.
I mixed up 70 grams total for this tank. 77 grams after I added the black stuff. It took 1 and 1/4 syringe's to cover all the shop heads.
So, this stuff was not messy at all for me. I didn't even use gloves. I only used gloves when working with M.E.K. durring cleanup.
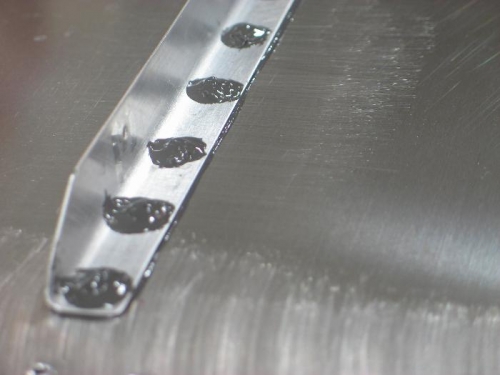
1.) Use a jumbo popcycle stick with the round end cut off. Blob a line of Pro-Seal on the stiffener. 2.) Wipe excess off popcycle stick back into the cup. 3.) Use popcycle stick to smooth out the Pro-Seal on the stiffener. 4.) Press stiffener firmly into place over the rivets. Watch a nice bead of Pro-Seal form on both sides of the stiffener. No filet forming required. 5.) When you push the stiffener on, you get a big blob of Pro-Seal on top of the shop head. Use a Q-Tip to swab Pro-Seal off the top of the shop head before you back rivet it. Rotate the Q-Tip for best removel. 6.) Use syringe to apply Pro-Seal on top of the shop head. 7.) Remove tape and clean manufactured head side with M.E.K. 8.) Clean rivet gun back rivet set.
Turns out I got perfect beads of Pro-Seal on each side of the stiffener when I pressed it on. So, I didn't need to make filets and I didn't need the electrical tape along the sides. But, you still need it at the ends of the stiffeners where the ribs will go.