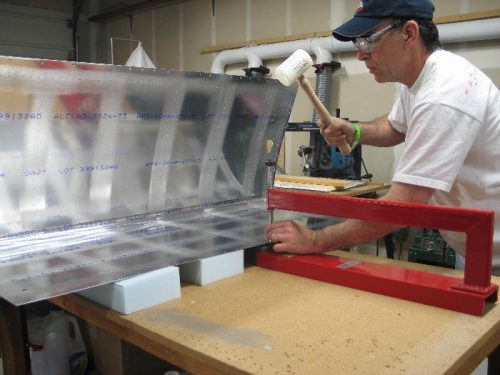
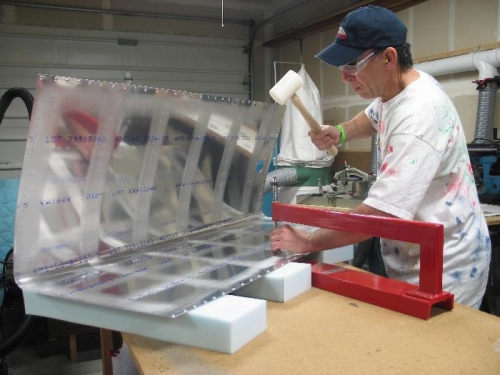
Here is my advanced dimple table. I went to a foam shop and got 4 pieces of foam. I asked or for 6" wide, 2.5" tall and 2' long. The 2.5" dimension would be equal to the bottom of the skin after the dimple. But they mismanufactured my foam and made it 2.7 or so. Turned out this was great because I could slide the dimple tool under the skin and the male dimple die would not contact and scratch the skin. So, I really like this method. I would position the skin to do a whole row and then move the c-frame as required.
Why am I using the c-frame instead of the DRDT-2 that I have. Well, I did a test. I used fual tank skin thikness material and dimpled #3 and #8 with the pneumatic, DRDT-2 and C-Frame. Here are the results.
1 is a really under dimpled 10 is a perfect dimple.
#3 dimples were very close or the same between the DRDT-2 and C-Frame but because the DRDT-2 did such a bad job with #8 I used the C-Frame to do the #3 dimples.
#8 dimples were totally under dimpled with pneumatic, better but still very under dimpled with the DRDT-2 but perfect with the C-Frame. Conclusion is simple. For tank skin thinkness you must use the C-Frame for #8 dimples.