Thought it would be a good time to prepare the bottom skins. You see, the flap hinge and flap brace rivet to the bottom skin. The flap brace will not take it's final position until its secured to the bottom skin. I need the flap brace to be in its final position in order to measure the gap between the flap and the brace. This gap will be taken up by the flap piano hinge. I'll line up the aileron traling edge and flap trailing edge and measure the gap. This will help assure I get equal rivet hole edge distance on both halves of the hinge.
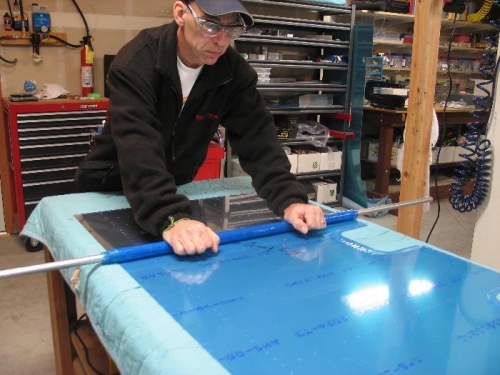
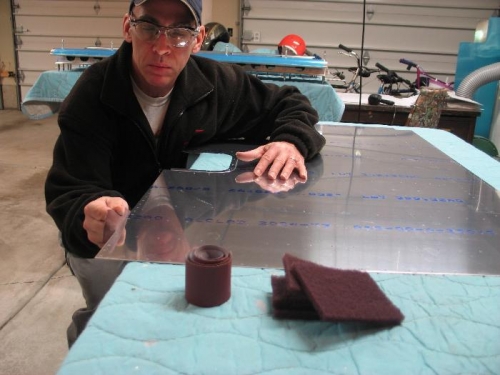
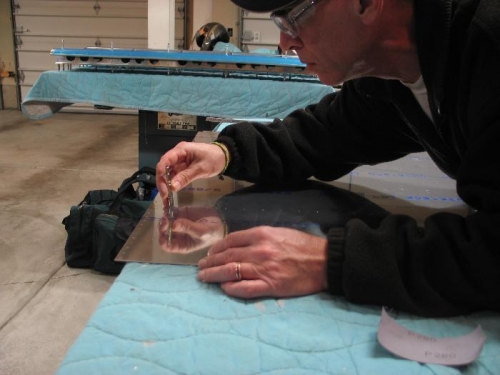
Anyway, you know the drill. I processed all 4 bottom skins. 1.) Remove plastic on inside and create rivet lines in the plastic on the outside. Rollingthe pipe does a great job. 2.) Finish the edges. I use Emery cloth followed by Scotch Bright pad. I see some use a vixen file followed by a edge scratcher and then Scotch Bright pad. 2.) debur both sides. 3.) Create scarf joints like on the top skins. 4.) Use Cleavland rolling tool to roll the inboard edge of the outboard skin. 5.) Drill to size the access plate holes to #19. 6.) Dimple all the #40 holes. 7.) Dimple all access plate holes to #8