Mindy would take a cleco out. If need be she would use the end of the cleco to smear Pro-Seal in the dimple. She would then insert a rivet and push it down with the pointy thing.
I would then buck it. We went from the leading edge back. I did the whole top then the bottom. I used the curved bucking bar on the first 3 rivets. Flat bucking bar on the rest. I used the thin bucking bar on a few rivets on the bottom near the stiffeners.
I have this LED light that stands on end and I shined it into the tank to light up the rivets I was about to buck. This really helped to align the bucking bar.
We would do 2 or 3 ribs before we would stop and I finished up. To finish up I would mix more Pro-Seal, put it in a syringe, dab the shop heads and add more Pro-Sael to the rib/skin intersection if need be. I used a small popcicle stick to make a fillet at the rib/skin intersection.
Now it's time for Mindy to go because I'll clean up using M.E.K. I used gloves and a gas mask. First I cleaned the top of the skin. Then pulled the tape off the inside of the skin.
I would finish by cleaning the clecos. I use paper napkins. Now more do I use paper towels. One paper napkin folded over once would clean 2 clecoes.
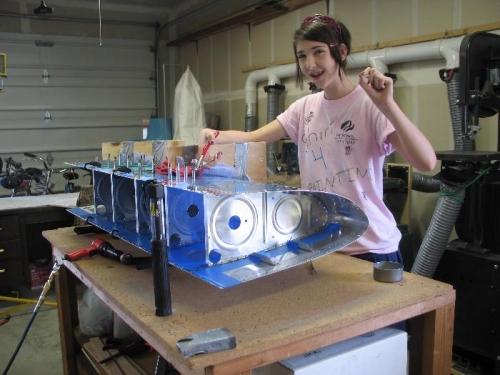
Mindy pulls a cleco and inserts a rivet.
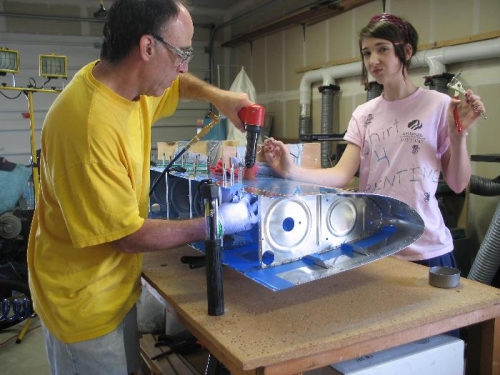
I buck it using the light to align the bucking bar.