I'v read that clecoing the ribs into the gas tank skins is a tough job. The gas tank skins are thicker then the leading edge skins. But, with good rib prep work and the correct procedure it's easy. But it does take some time.
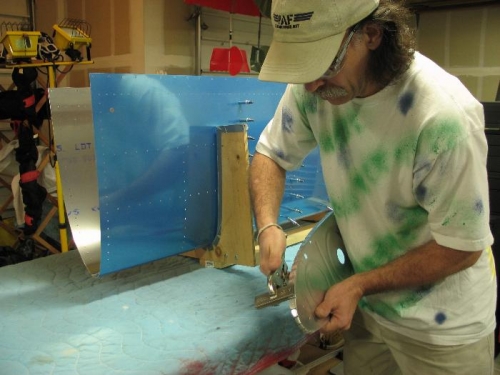
First, all my leading edge ribs had one or more flages that stuck up to high. Leaving it this way will make it nearly impossible to get the rib down far enough in the skin to line up the holes. Plus, left unadjusted will create a bulge in the skin. So, use your hand seamer, grab the raised flange and bend it down flush with the other flange sections. Picture one show me doing this.
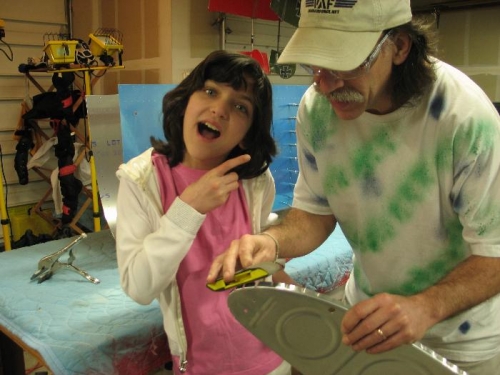
Second. Lightly sand the intersections of the flange intersections on the leading edge curve. I light sanding here will enable the rib to fit further down into the skin. Abby came out to help.
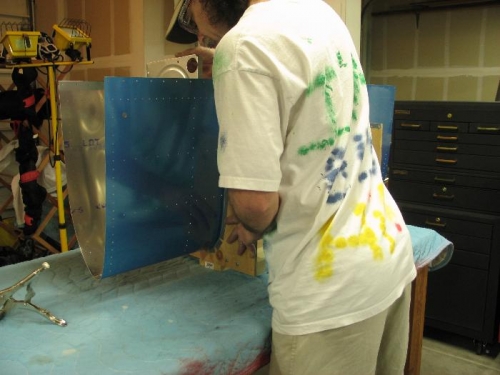
Third, lower the rib into the skin looking throught the top most forward rivet hole in both the rib and skin. Press it down and watching this one hole (top most forward) line up. Quick, put a cleco in it. This one hole is on the opposite side from where I'm standing.
Is is interesting to note that durring the rib fluting process I had concerns that I could not get the forward most hole in the rib to line up with the other holes on the rib flange regardless of hoe much I fluted. Turns out, this first hole is not suppose to line up. Take a look at the skins and your'll notice the first hole is not lined up with the others.