
|

|
|
|
My RV-10
|
Date: 10-21-2012
|
Number of Hours: 2.00
|
Manual Reference: EMAG / VP-X Pro
|
Brief Description: EMAG-P Wiring / Switches / Timing
|
|
Continued on the EMAG-P wiring.
I decided to install a switch in the cockpit to control the 12v's that will be supplied by the aircraft.
As you can see in #2 Photo my switch layout on the left side of the Skyview cutout.
Master (Red), ALT 1&2 (Wire sticking through) 12v to Right EMAG (Yellow) and P-Lead to Right EMAG (Blue, I think I will change that to Green in porduction)
I checked everything out within the VP-X pro setup via my laptop, and saved the configuration.
Powered up the system, checked system voltage, and current draw. engaged the starter solenoid, which drew about 3.7a. All indicators were normal.
I made sure the #1 cyl was at TDC for the next series of steps.
Switched power on to the EMAG-P (Yellow) the EMAG went into setup mode by showing a RED light, I blew in the vaccum port, the EMAG aknowledged by flashing RED, blew into a second time EMAG aknowledge by flashing GREEN then steady GREEN, power cycled the EMAG, which aknowledge with a steady GREEN (#3 Photo), indicating the EMAG was timed.
Nice to see things work as designed / planned.
|
|
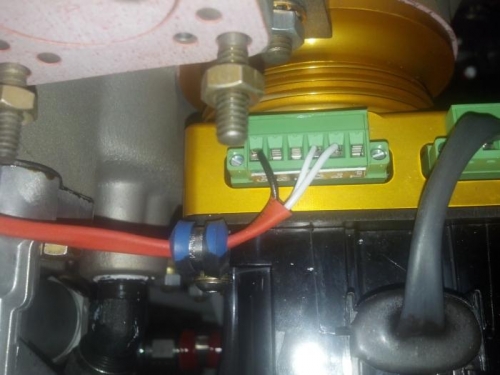
Routed Wiring
|
|
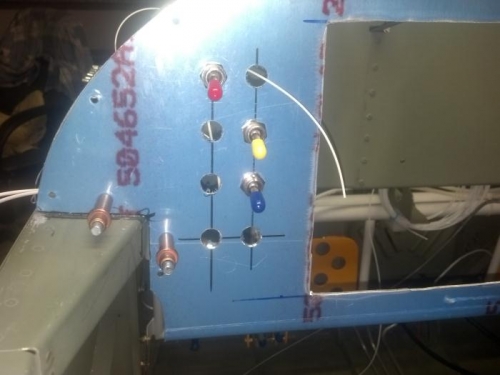
Testing Switches
|
|
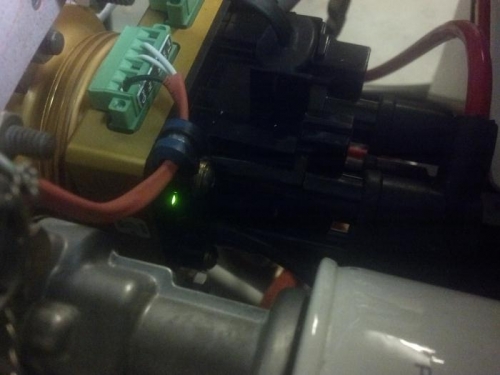
Timing
|
|
|
|
|
|
|
|
|
Copyright © 2001-2024 Matronics. All Rights Reserved.
|