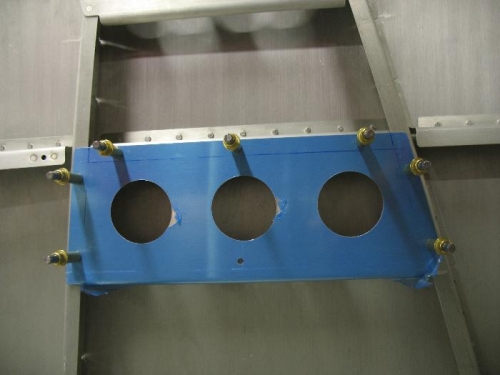
Today I continued work on the rear throttle kit. I started with the throttle panel. After clamping it in place I drilled all of the holes to 3/16” and then up to #12. This entry is a few days after doing this and I am not sure why I drilled them to #12, I guess I had AN3 bolts on the brain. The plans call for #8 screws which would mean a #19 hole. I have called Van’s and they said it was OK to use AN3 bolts with nuts or #10 nut plates. I don’t even need doublers. I have not been working on the kit very often lately so I guess I am out of the swing of things, RTF Plans!
I have my new cutting wheels so I next cut the slot in the arm rest for the rear throttle arm. There are more templates to cut out which show the location of the holes that need to be cut into the bulkheads for the rod that will link the front and rear throttle arms. I taped one in place but needed a better angle to see how the holes will align, since they are approximate locations. I need to roll the fuselage to get the better angle so stopped and unbolted the tail feathers. I really do not need the tail feathers on until final rigging so I have put them in storage for now. Besides they take up a lot of room and it gets old walking around them all the time.
One issued it looks like I will have is that the QB kit has the hole cut for the manual trim cable which I do not need since I am going with electric trim; the existing hole seems to be too close to the location for the rear throttle linkage rod, hmmm!
Panel mounted on the outside of flanges looks better. I will need a .40 shim along the top.
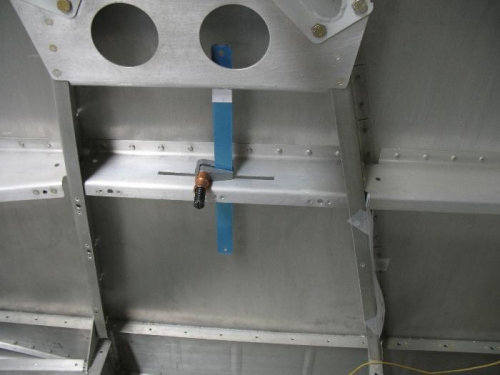
Clamped arm in place to use a string to line up front and rear to see how the template holes line up.