Brief Description: Installed flap motor, and rudder cables
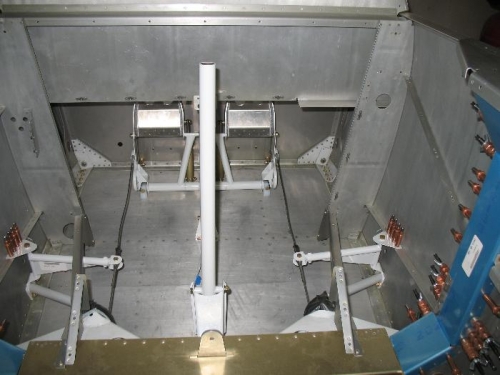
I installed the flap weld mount after making sure all bolt holes were drilled to the proper size. I then hooked up the flap actuator arm and ran the flap motor up and down a few times. Satisfied with the install I removed all flap parts and put them in storage until final assembly.
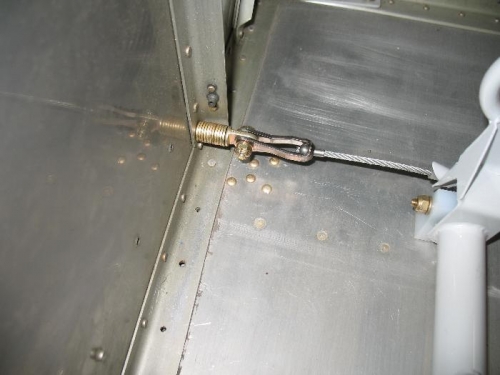
Next up is the rudder cable. I needed to finish installing the rear rudder pedals so I stared there. After clamping the idler arm brackets in place I match drilled them to the longeron. I deburred the holes and then clecoed the brackets in place. I installed the rudder cables along with the bushings. The floor support tabs had the holes undersized so I removed them to use a unibit to open them up to 5/8 so the bushings would fit. Next I drilled through the firewall for the two ¼” holes used to hold the eye bolts that will anchor the forward end of the rudder cables. I then installed the rudder pedal assembly and connected the cables. It took 11 washers on the eye bolts on the inside to set the rudder pedals to vertical with the rudder set at neutral. After making sure everything worked smoothly I riveted on the idler arm brackets and called it a day.
Rudder cables connected
It took 11 washers to set the rudders to vertical in the neutral position