Brief Description: Began installing Horzontal Stab
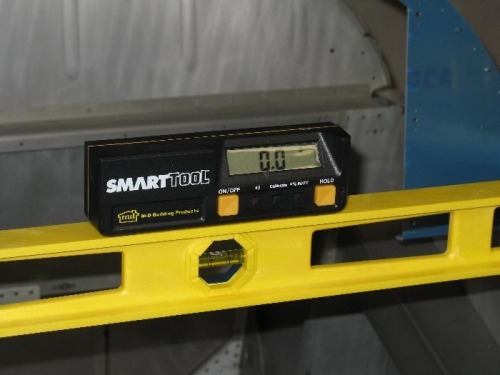
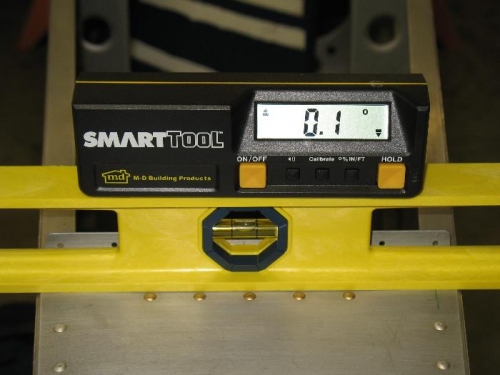
Well after a long time off the project I am back to work. It was easy to work on my chores since I need to bolt on the tail feathers and I am worried I will mess it up. But I can’t put it off any longer so today is the day I start the process. I started by arranging things in the garage so the tail will fit on the plane. It will be difficult to move around but it fits. I then leveled the fuselage. Using a tip I read off of VAF I set two levels at set points across the upper longerons over the cockpit and leveled the fuselage in pitch and roll. I then took some measurements at the aft deck and believe it or not that matched to within .1 degrees. Looks like my QB fuselage was built nice and straight, I expected this since I have on of the kits built from a matched hole kit.
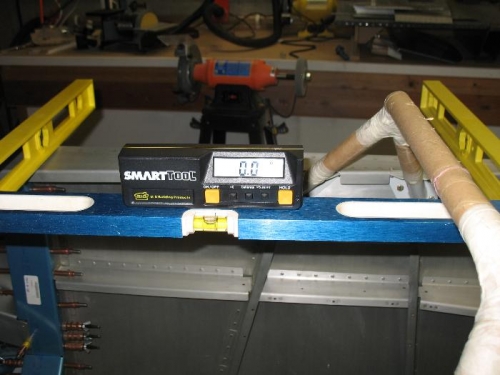
I set the HS in place and made sure it was centered. I then took my laser level to see how the cord line of the HS matched the upper longeron. The cord line should be parallel with the longeron. Sell it was off, darn what could be wrong? The spacers that go under the HS front spar is what I had missed. After installing these it was perfect, see photo. I then leveled the HS, it was just slightly off, I added a small shim under the left forward side. I then kept re-checking the measurements over and over again then called it quits and decided to sleep on it before I drill any holes.
Level above wing spar, also zero if level set on spar