Brief Description: Part 1: Rivet nut plates on to floors and consoles
Well today was very busy on the assembly line in “Mike’s RV-8 Factory” With all of the parts primed it was time to do some riveting. The first thing was to rivet on the rear seat hinge. Then I riveted on the nut plates to the floor panels. The plans say to back rivet which I guess would be better is you did not have a pneumatic squeezer. You can reach all of the nut plate rivets with the standard yoke. On the front seat hinge I buggered up one rivet and had to redo it but all turned out good. Lots more nut plates for the aft baggage area and all of the front console parts (see picture).
I riveted on the F-805F spacers to the floor support. The plans have you do this when you install the floors but I saw not reason why you can’t rivet on the spacer and just let the floor lay on top. It will make removing the floor a littler easier since I will not have these nut plates to drill out. My plan is to only have to drill out the blind rivets to remove the floors, any where there is a nut plate gets riveted below the floor level. I riveted up the foot wells, the plans tell you to rivet them to the front floor panel. I will leave that till later since it will be easier to store the parts separated.
I moved onto installing the console parts, I have the rear seat rudder pedal kit and that requires some holes in the spar bulkhead and the seat ramp ribs. This is continued in the second entry for today.
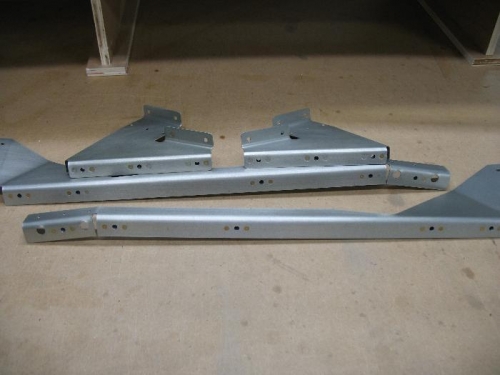
Console parts with nut plates
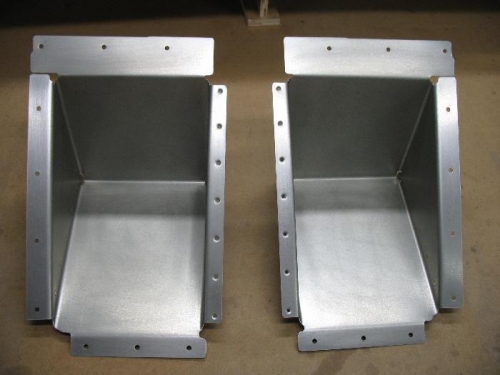
Foot wells riveted together.
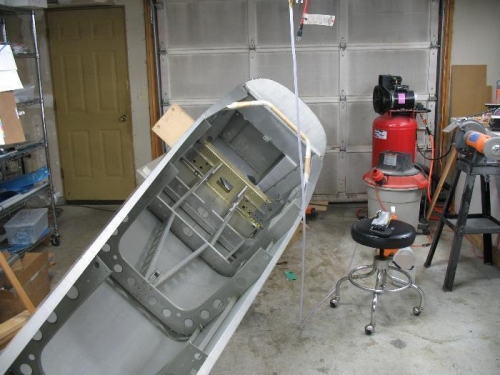
Rotisserie locked at 45 degrees for easy floor access.