Brief Description: Drilled out bad rivet and reset
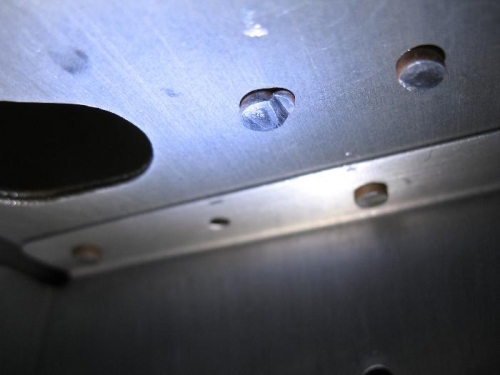
Well the only thing I did today was to drill out the bad rivet I had on the middle bracket; you can see in the picture that the bucking bar really put a crease into it. You can leave a rivet like this if the short side still meets the minimum head thickness allowed but this one does not. I have learned that removing a rivet even a less than perfect rivet can cause more trouble because it can be difficult to drill them out. Some times you are better off leaving them alone. There was a study that Van’s quotes in the builder manual that states something to the effect that even a bad rivet has nearly the holding strength of a good one. This rivet I removed was a challenge because I needed to use a longer than normal drill bit due to interference with the aileron bracket, but I managed and reset the rivet.
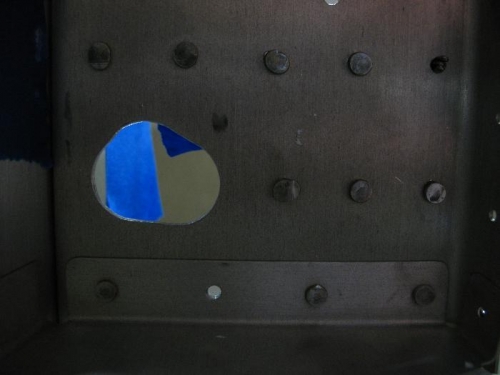
The other problem rivet I have is the one above the one I removed. It has a slight crack in the head (you can just see it the wide shot, it is at the top of the shop head). I remember reading something about these being allowed but I don’t remember the parameters, so this will wait until I can look it up.
I also set the flush rivets on the brackets. The lowest rivet on each bracket is flush to prevent interference with aileron movement. I have not done much since I am working on new baseboard molding in the house.
Bad on is the left bottom row and the one above it.