I had a four day pause in building so I could do 4 days of flying with my airline. I wanted to fit the lower fairing but realized that my quick build kit came with 3 holes riveted that should have been left open for the fairing attachment. Thankfully even with the horizontal stabilizer on I could drill out these rivets. I fit the fairing and then trimmed off some to get a good fit with the rubber channel. I cut and sanded the upper empennage fairing to a rough shape, it looks like I will need to do some work with heat to get the fairing to fit the plane. I also plan to add some glass so the faring wraps around the front of the horizontal stab more.
Happy with this I moved onto installing the flaps, I first had to cotter the rear spar bolts. The only place I had to worry about with the flap fitting was the hole in the floors, I did my initial rigging of the flaps with the floor not in place. I only had one spot where the floor interfered with the flap push rod. I set the torque and marked all of the hardware then ran the flaps a few times. After installing the aileron bell crank jig and doing a double check I saw that the left aileron needed to come up just slightly. It took some time but I turned the beating in one turn and that was enough to get the aileron back into the proper place. Now I am ready to clamp the flap to the aileron and fit the wing tips. I am waiting for my landing lights to come in the mail, so I will work fitting the tail fairing more tomorrow.
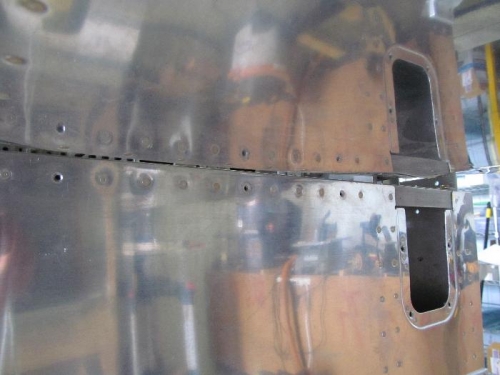
These are the holes I had to drill out both sides!