I got a late start today but I have fewer things on the TO DO list at the end of the day so I guess it was not all bad. I continued work on the elevator by making reinforcing strips of aluminum and match drilling them before riveting on the tips. I am fairly pleased with the result. I have an uneven seam between the aluminum skin and the elevator so I mixed up some filler and applied this to the seam.
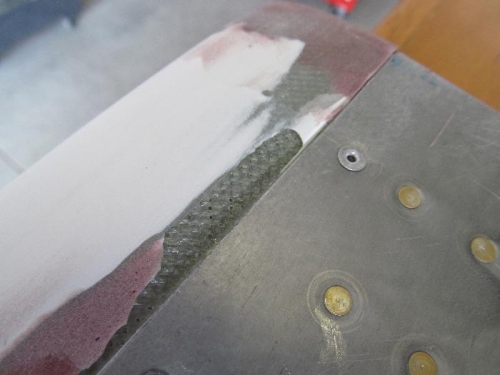
I had already filled a void that was under the gel coat, well this was a bigger void than I thought, more gel coat popped off as I was sanding the tip before riveting. I filled this area as well. Tomorrow this should all sand out and get a coat of epoxy then primer after that cures.
I clamped the rudder in the center position then adjusted the washers under the eye bolts that attach to the firewall so that the two rudders pedals where vertical and matched on another . There is one washer difference between the two sides. I then climbed in and tested the rudder pedals, I can’t use the forward most pedal position but the next one aft is okay but not for ground operations. I put small fluid reservoirs on the master cylinders instead of the one on the firewall, this limits how far forward the pedals can go, at the second to the last stop the reservoir just touches the firewall at full pedal deflection before the rudder it the stop. This will be an okay in-flight position if I need to stretch my legs but I will need the next stop for ground operations got get full rudder and brake sue. This feels like it will be a fairly comfortable position but my knees are close to the instrument panel. I can see why some modify the panel to sit higher. I am on the edge of the height before the tall pilot option was recommended; this would give me a bit more leg room, but would sacrifice room for the person in back.
I moved onto the rudder tips but did not get much before calling it a day.
You can see the previouis filler and then the new area where the gel coat popped off :(