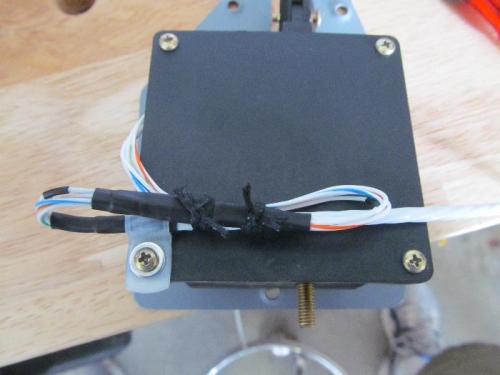
Brief Description: Installed elevator trim servo and wire
I confirmed with other builder that it is common to have to trim the front edge of the vertical stabilizer to clear the rear top skin so I trim about ¼” off. I then moved on to the elevator electric trim, there is a short section of very small gage wire coming out of the servo. I used the tiny D-sub pins, each is covered with shrink tubing and then all 5 wires are covered in shrink tubing, I then secured this to the servo so this connection will not move. The plans call for the wire to run though the same hole as the jack screw of the servo, this seems to be asking for chaffing in the future. I copied another builder and put a small hole and bushing below the jack screw hole and ran the wire through it. The wire is then zip tied to the elevator horn shaft and will loop over the top of the rear horizontal stab spar. I plan to use a 9 pin D-sub connector to join the wire run that goes forward to the instruments and secure the connector to the aft deck. This will allow for the removal of the elevator for painting.
I next pinned the rudder in place and checked the rudder stops, some of it stuck out past the aft skin so I trimmed that area off. I then test fit the rudder pedals for travel and freedom of movement. As I was too tired to do more I went home.
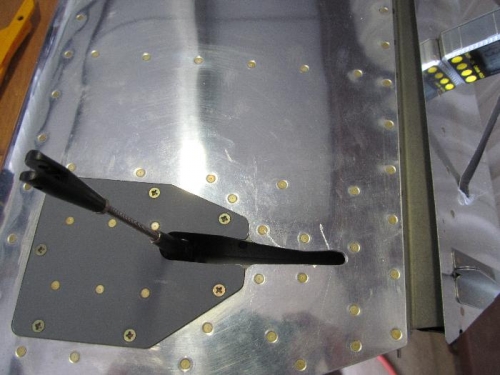
I had to trim the opening forward so the servo push rod cleard the skin