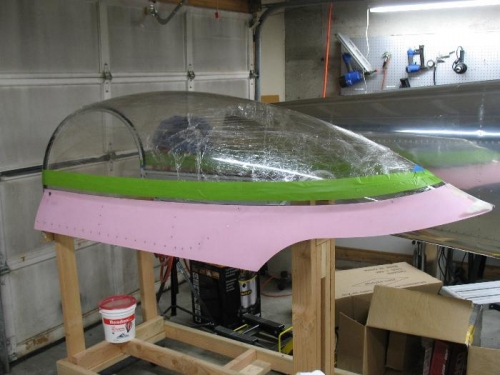
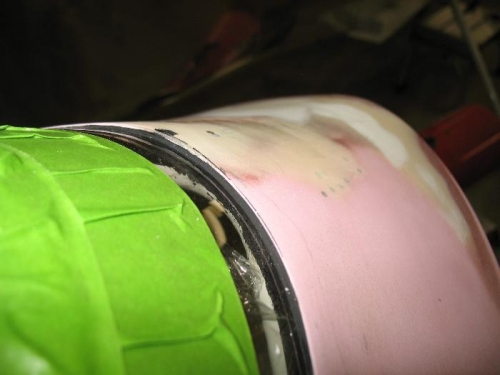
Today was a big milestone, there are no longer clecoes holding the canopy skirt to the frame. I started the day by sanding down the glue edge like yesterday and must say this turned out nice. My biggest gripe is that the primer leaked under the tape on the initial gluing so now when you look at things from the side there are nasty peaks and valleys and not a smooth line. I am thinking a tiny bead of proseal or some other sealant will cover this and make for an aesthetic line. I will leave that to the painter, I have something now that is water tight and will be fine for the test flight period.
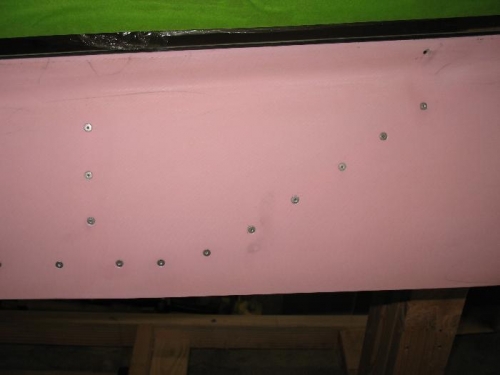
Next step was to place the canopy on some pillows to fill the voids on the underside of the skirt. After doing that I put the canopy on its stand and countersunk the holes for the rivets then riveted on the skirt. I dipped each rivet in epoxy before setting. I want a smooth look on the skirt and will cover the rivet with micro and epoxy, I have hope that the epoxy on the rivets will keep them from working loose and cause the paint to crack at the rivet lines. This is something to confirm with for the painter, for my test flight I just want them sealed up so water can’t penetrate. The only then left on the skirt is to fill the holes and do some fairing work around the hole for the canopy handle. I know most of the time was reading and learning bout glass work but I started work on the skirt back in July, it is now March, I think what I have learned will make the windscreen part go much faster.