Brief Description: Wired sticks to terminal and tested
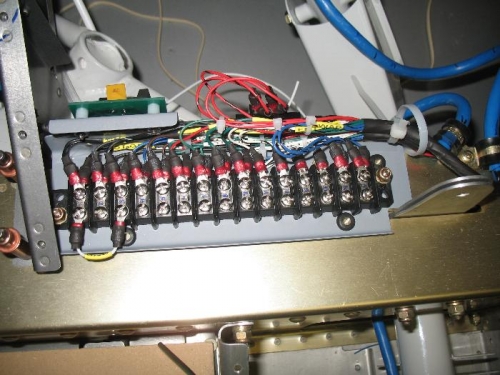
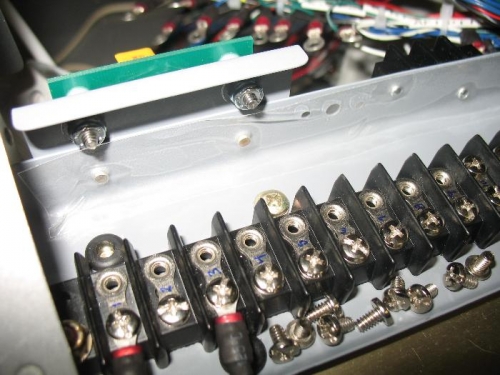
Well today I finally started connecting wires, up to now it had been just pulling wires through holes. I installed ring terminals to all the stick grip wires and then installed then to the terminal. To protect the wires from chaffing on the tray and two rivets that stick out, I put some clear polyurethane tape on the tray. I have the wires secured somewhat with temporary zip ties. I will go back and tie the wires with lacing string to keep them secure. I did not put a quick disconnect on the front stick because the only time I will remove it is if there is major work under the panel that needs to be done. The front stick wires are on top so I can just undo the terminal screws and remove the stick this way. With the wires lace tied up they will keep their positions relative to the terminal block.
I took a test light and checked that each switch on both stick grips was wired up properly. To test the flap switch I hooked up the flap motor to the flap control unit, and they too work perfectly. Hard to believe with all those wires I did not mess one up.
Of course now that I am really ready to start hooking up wires I run into another puzzle. I need to find a place for the smart start module and parts. There is an arm switch the module itself and a speed switch. I spent the afternoon looking at way to mount these parts. The arm switch has to be semi-hidden as I don’t intend to have a keyed start switch. The idea is to make it difficult for someone to find the arm switch, if they can’t find that the start switch will not function.
Now to run wires from the components to the othe side of the terminal