This session started with me wanting to mount the aileron bellcranks, but I realized I didn't have a 1/4" reamer to ream the bellcrank bearing - ugh! I spent about a :30 (not included) researching what to get and where. I put in a quick order to Avery at 6am so hopefully I get it this week sometime.
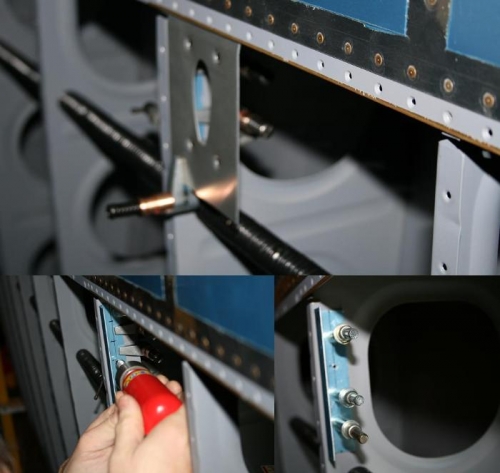
So switched gears to the pitot tube installation. After studying the plans provided in the Gretz Aero kit, it fabricated the aluminum angle that helps attach the base of the mount to the adjacent rib (first bay outboard of the inspection cover on the left wing. I then located it CAREFULLY (this sets the height of the base of the mounting plate so this is critical to a good cosmetic fit although it is on the bottom of the wing I'll know about it if it's screw'd up. I match-drilled to the rib and deburred and primed. I then rivetd it on with universal rivets (-4s as I didn't have any short -3s in universal, button, head). I then laid out the hole location for the base plate before I ran out of time.
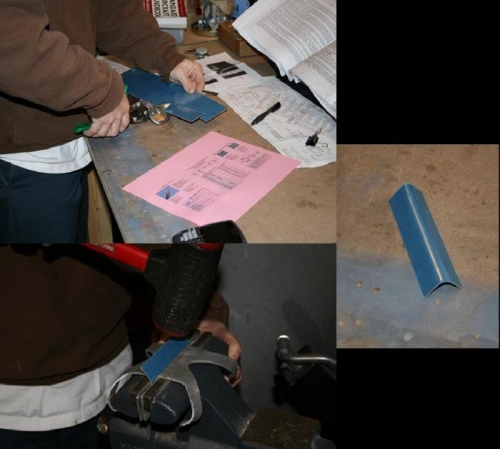
I combined 3 pics into one; cutting the .032 aluminum, shaping it in the vice, and the finsihed piece.
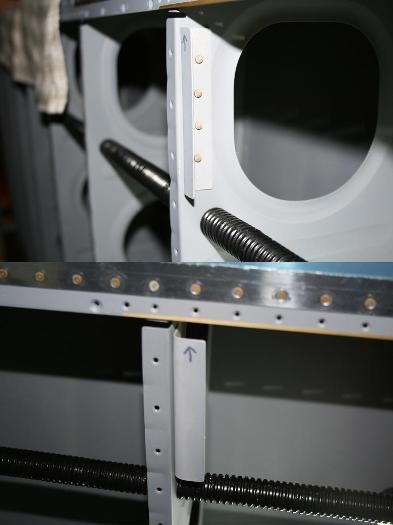
Top is the layout of the backing plate, Drilling the reinforcement angle and cleco'd in place.