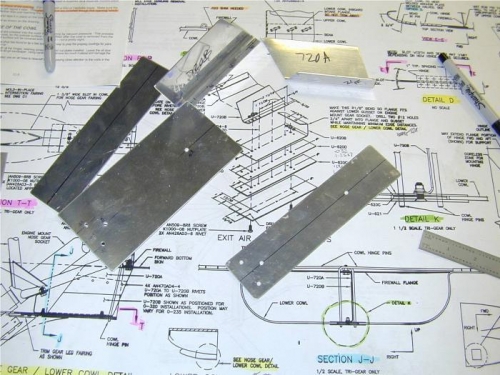
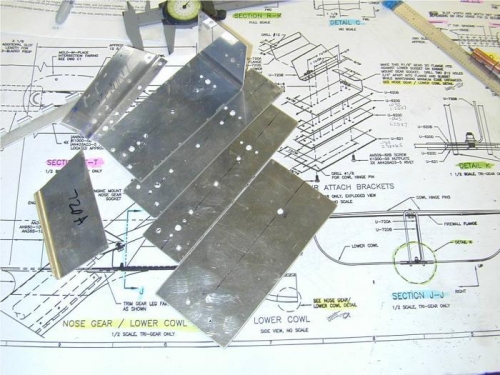
I was dreading this assembly because the drawings are pretty "busy" with tons of details packed in. With parts in hand and visualizing the setup, it turned out not so bad. The key is to pay very close attention to which holes go through which parts!! This takes a careful approach to laying out the holes and drilling sequence. I drilled everything 1/8" so clecos could be used, then drilled out the three #12 holes at the very end.
Building the "house of holes"...
Parts now ready for primer, final fit with cowl in place, then assembly.