Brief Description: 5 Iterations of Trimming Top Edges of Baffles
It took another 5 iterations of noting / marking where the top edges of the baffles need to be trimmed, removing the cowl, removing the baffles, trimming the top edges, deburring, reinstalling the baffles and cowl and then checking the fit again before I had the top cowl mating up again nicely with the lower cowl.
I will need to go through this process again once I have the front bulkhead baffles installed so those parts also match the contour of the top cowl. Then finally I'll have to use the paperclip trick to mark and final trim all of the baffles again to make sure there is a minimum of 3/8" clearance between the top edges of the baffles and the upper cowl and no more than a 1/2" gap. If there is too small of a gap, the baffles could rub a hole in the cowl. If there is too much of a gap, the flexible baffle seals could push through the gap and not seal properly against the cowl.
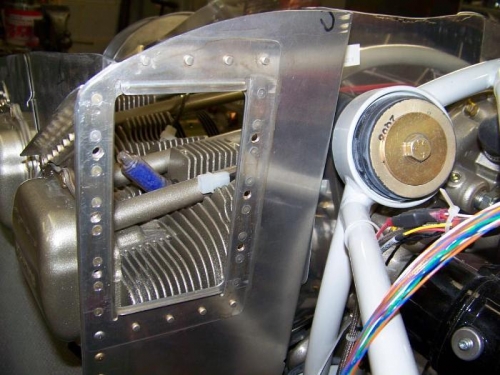
You can see in picture 3 that I had to trim the back left baffle quite a bit in order to install the top cowl. I doubt the oil cooler will have enough clearance now with the top cowl which means I'll have to order some new parts and mount the oil cooler a little lower.
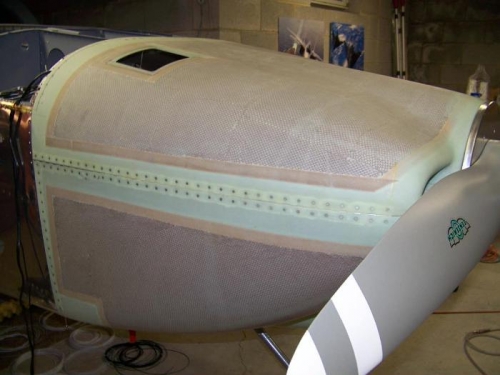
Top edges of baffles trimmed - upper and lower cowl matching up again on the right side
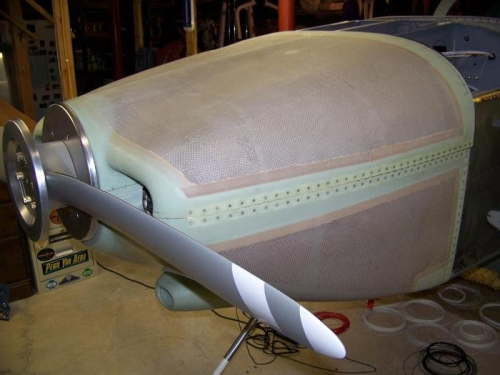
Top edges of baffles trimmed - upper and lower cowl matching up again on the left side
Final trimming of left aft corner baffle with oil cooler mount - not looking good.