Brief Description: Fabricate Part 10S Reinf Angle; Drill to Right Inl
My next step was to fabricate the part 10S reinforcement angle. I had to drill a 3/16" hole about an inch and a half from one end right at the bend of the angle to prevent cracking and then I used the bandsaw to create a 1/8" slot up to the hole to separate the flanges so they could be bent separately to align with contours of the bends in the side and floor baffles. These bends were also a bit iterative to get them to match up exactly with the floor and side panels.
Once all of the bending was done I layed out the rivet pattern on part 10S and pre-drilled the angle first. The angle was then used to match drill to the floor and side panels.
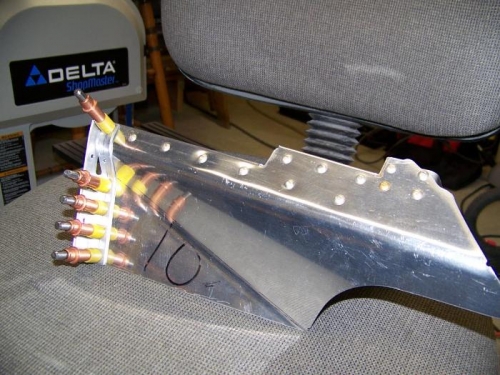
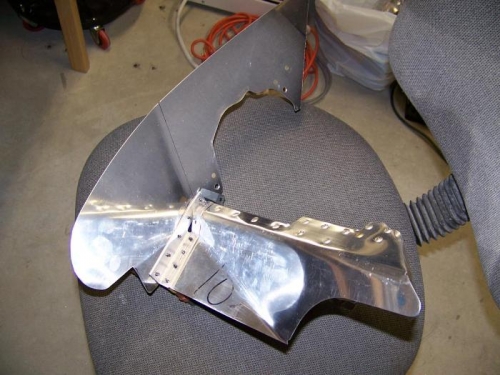
Part 10S reinforcement angle frabricated, pre-drilled, and deburred
Part 10S reinforcement angle drilled to part 10 - right inlet floor
Part 10S reinforcement angle drilled to part 9 - right inlet side baffle