Brief Description: Install Matco Spacer/Axle; Reinstall Nose Wheel
I removed the two original spacers that were pressed against each side of the wheel and holding the bearings in place, greased everything up again and replaced these with the new single piece Matco spacer. The large nut was then tightened by hand until the felt/bearing rings did not rotate with the wheel. The large nut was then tightened a bit more until the next hole in the side of the nut aligned with the slot cut in the shaft of the spacer. A 10-24 anti-rotation pin/bolt was then installed to keep the large nut from loosening over time. The nose wheel was then reinstalled in the fork and the axle nut torqued to spec. The wheel rotates much more freely now with the new spacer taking all of the axle torque loads without binding the bearings. The final step was to install the 1/4" anti-rotation bolt through the fork and into the new spacer. I then removed the tie-down strap from the tail to lower the nose.
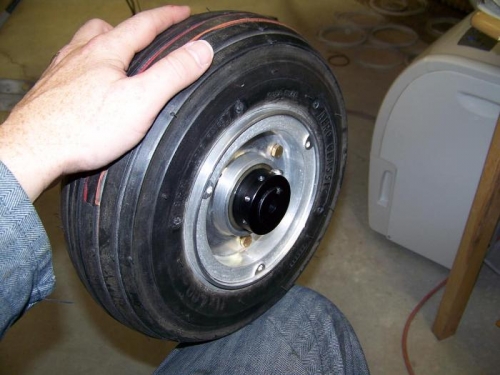
New Matco spacer/axle greased and tightened against the bearings and nut locked with pin/bolt
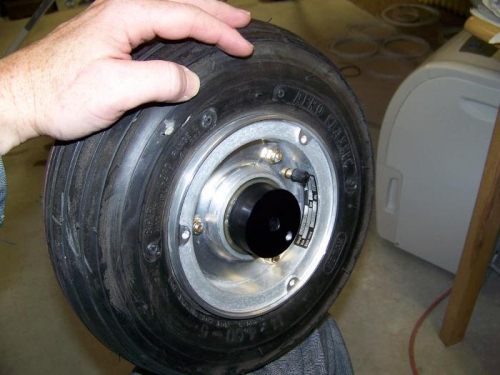
Opposite side of wheel - greased and ready to be mounted to fork
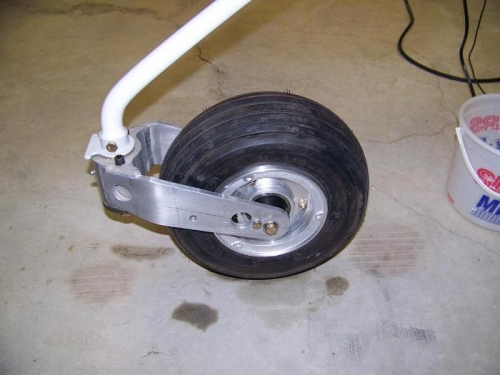
Nose wheel installed in fork, axle torqued, and new 1/4" anti-rotation bolt in place