Brief Description: Center Section: Control Column Brackets
Once all of the nutplate holes were drilled in the web stiffeners I countersunk the rivet holes. The next step was to measure and drill one of the two 3/16" holes in each control column bracket. The brackets were then clecloed to the spar through these holes and then squared up and clamped so the other 3/16" hole could be drilled in each bracket. I thought I had these clamped securely but both brackets ended up drifting slightly while I drilled the lower holes. They aren't perfectly square but they aren't too far off either. I test fitted the control column's and they fit fine. Whew,,.I would hate to have to buy new brackets. Once the brackets were drilled to the spars, the plans indicate that you can optionally remove some of the aluminum on the base of each bracket to lighten things up. I decided early on that whenever I came across any optional lightening suggestions I would always do the extra work to keep things as light as possible. Measuring and cutting the brackets was pretty easy using the bandsaw. Cleaning up the edges was a little more difficult..
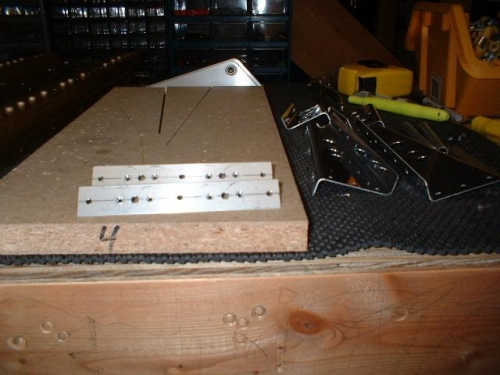
Web stiffeners drilled and countersunk for nutplates
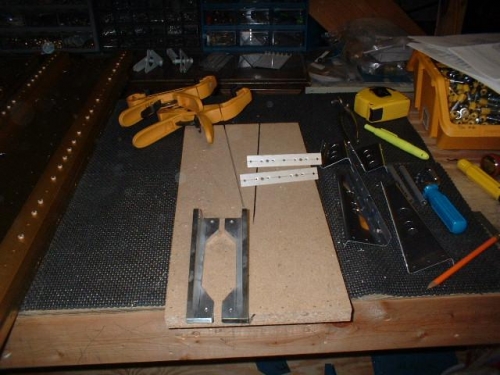
Control column brackets drilled to spar
Hatched area removed from each bracket to save weight