Brief Description: Drill Inboard/Outboard Brackets to Ribs
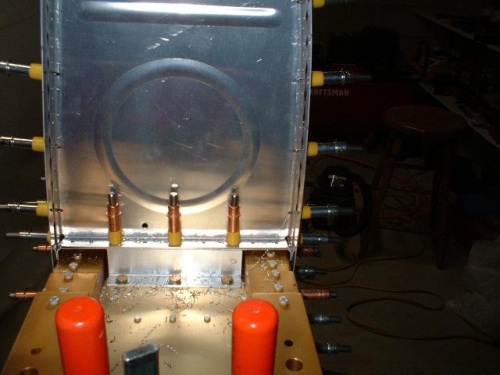
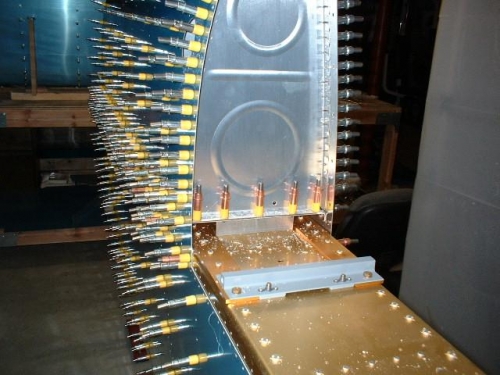
Next up was drilling the inboard Z-bracket to rib to baffle holes. This was easily done with a 12" bit but be careful to use a drill stop so as not to accidentally drill into the spar. The next step was to remove the leading edge so the outboard Z-bracket could be drilled to the baffle and outboard rib. I had some difficulty removing the leading edge this time around because I had only removed the clecoes from the joint plate and the tank. I kept tugging and tugging on the leading edge thinking it was held up because of the tight fit between the joint plate, rib, and skin. In reality, the second inboard rib was bumping up against the tie down. Once I removed the cleco's from the inboard leading edge rib / joint plate, everything slid off fine. With the leading edge removed, it was easy to drill the outboard Z-bracket using the rib/baffle holes as a guide. Now both the inboard and outboard Z-brackets are drilled and clecoed. Time to remove the tank from the baffle and two end ribs. This will enable the center Z-brackets to be drilled using the prepunched holes in the baffle as a guide.