Brief Description: Left Aileron; Rivet Top Skins to Spar
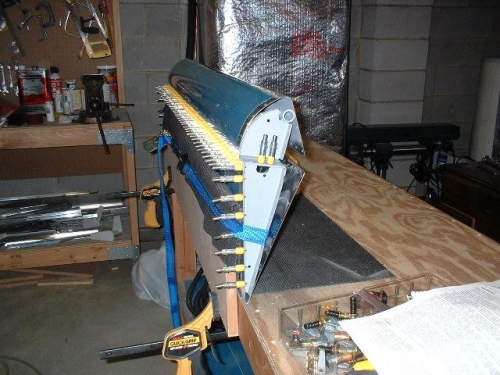
The next step was to cleco the end ribs to the spar as well as the tops of the skins. The bottom of the skins were left open to allow access to buck the top of the skins to the spar. I had to think about how I was going to do this alone. As it turned out I ended up nailing a piece of wood perpendicular to the side of the workbence. I then strapped the top face of the aileron snug against this piece of wood with the trailing edge resting on the workbench. This held everything straight to prevent any twist and it also allowed access for me to buck the rivets along the top of the spar with my left hand while operating the gun with my right hand. This setup worked out GREAT! Once the top of the skins were riveted to the spar I closed everything up with clecos for final riveting tomorrow. This should be a piece of cake from here - all blind rivets to fasten the bottom of the skins to the bottom of the spar and easy access for the squeezer to set the rivets along the end ribs.
Left aileron clecoed and clamped to bench - ready to rivet
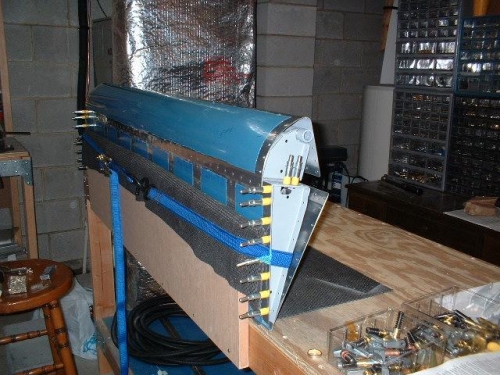
Left aileron - top of skins riveted to the spar
Left aileron - closed up with cleco's and ready for final rivets