Today I removed the tail once again so I could countersink the side skins and longerons for the #6 dimples in the lower empennage fairing strips. Wish I had remembered to do this when I had the tail off for tapping these holes. Oh well, done deal. The holes are countersunk and the tail is bolted back to the fuselage again.Once the tail was back on I drilled the lower empennage fairing strips to #28. This was done off the fuselage. I then deburred and dimpled the holes. Then I basically used the scotchbrite wheel to trim and taper the top edge of the aluminum strips to match the contour of the horizontal stabilizer. I elected not to use the rubber strips between the top of the strips and horizontal stabilizer since the center section would have been difficult to fasten to anything since the fairing strip is flush with the top of aft deck. The rubber strips were optional according to the plans. I am very happy with the fit of these lower strips. There really is no gap between the top of the strips and the horizontal stabilizer. I screwed the fairing strips in place as well as the rear access panel cover plates just for grins.
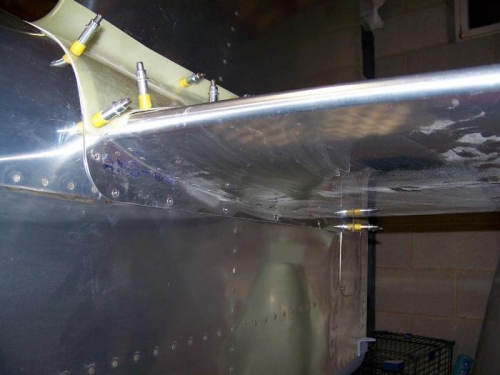
Right lower empennage fairing trimmed and installed
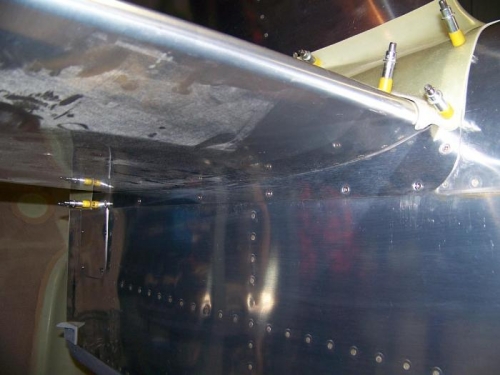
Left lower empennage fairing trimmed and installed