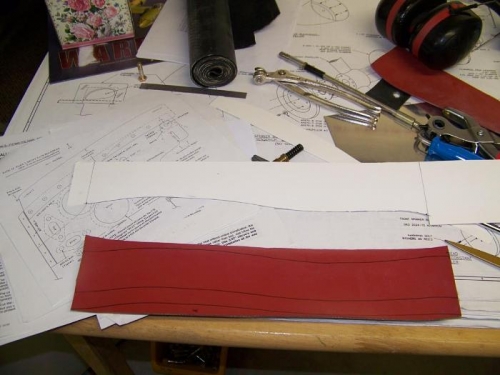
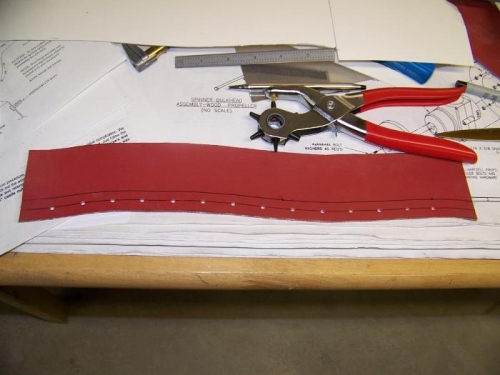
Brief Description: Trim & Punch Right Aft Airseal Fabric Strip
I decided to start working on the rubber/fiberglass reinforced airseal fabric next. The first thing I did was steal a piece of posterboard from the kids and traced the contour of the right aft baffle onto it. I then cut the posterboard to make a template and traced 4 parallel outlines (top edge, bottom edge, baffle edge, and rivet line) onto the airseal strip. I decided to go with a 3/4" overlap on the aluminum baffles and 1-3/4" above to seal against the cowl. Once the airseal strip was marked I used a pair of scissors to make the cuts. I then marked the rivet pattern using 1" spacing and used a punch to make the holes. The punch is really the only way to go. It took less than a minute to punch all of the holes and no frayed edges. I then clamped the airseal strip to the aft right baffle and used the punched holes to match-drill the baffle.