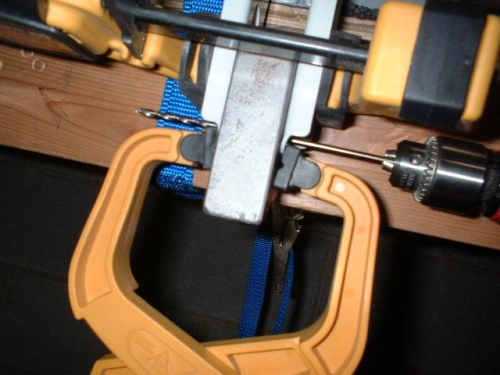
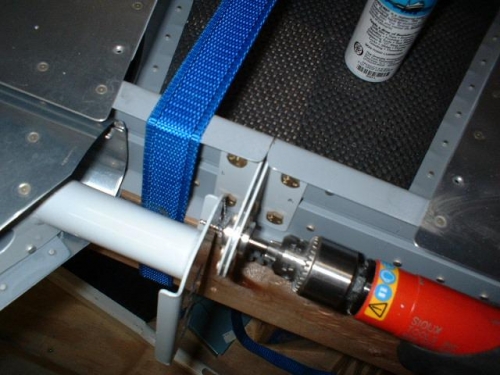
My goal today was to finish drilling the elevator control horns. The distance between the left and right control horns was exactly 1" in my case. One of my bucking bars was 1" thick so I drilled a #30 hole in the center of it using my drill press. I then temporarily inserted a #30 drill bit in the right control horn that had already been drilled yesterday. The bit was used to align the bucking bar spacer between the control horns. Once everything was straight and aligned I clamped everything together and match drilled the left elevator horn to the right. Then it was off with the right elevator and time to drill the upper bolt hole in the left elevator. I bought a drill bushing that had a 1/4" outside diameter and fit through the center bearing. The inside diameter of the bushing was #40. I used this to drill the top holes in the elevator horns, one elevator at a time. Actually, I did this backwards. I should have drilled the top holes first and then the lower holes. It came out perfect anyway. Once the pilot holes were drilled in each elevator control horn, I used a reamer to enlarge the holes to their final sizes.
Transferring the #30 pilot hole for the pushrod to the left elev