Brief Description: Cleco Fuel Tank and Position on Spar
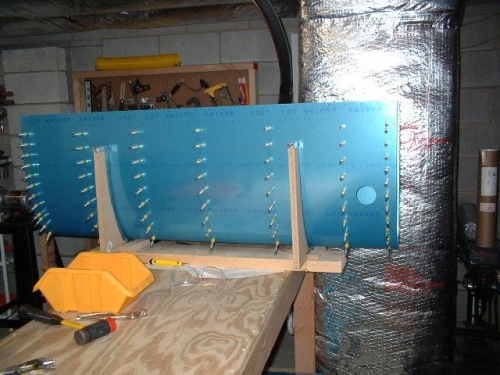
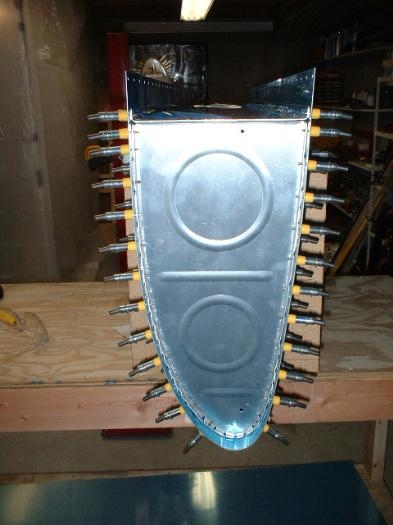
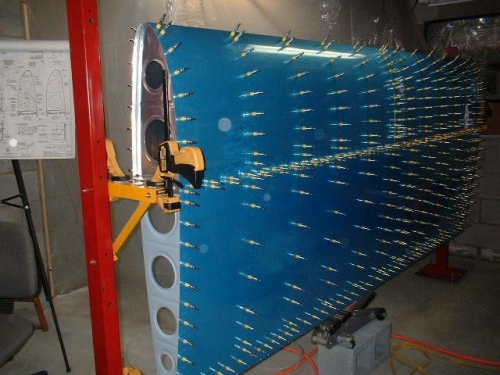
The next step was to cleco the fuel tank together. I first had to debur and straighten all of the fuel tank ribs. Then I placed the skin in the cradle and started wrestling the ribs in place. This wasn't too bad as long as you use a punch to align the holes. I tried using the clecoes to force the ribs into position but they just tend to bend. I then pulled out a steel punch and this worked great. I could put the punch in one skin and corresponding rib hole and wiggle the thing around enough to force the rib into position without buggering up the hole and without bending the punch. Once the holes were aligned, the cleco's went in without bending and without any trouble. Once all of the ribs were clecoed to the skin I set the rear baffle in place and clecoed it to the skin. Once the fuel tank was clecoed together, I removed it from the cradle and placed it into positon on the front spar. It was a perfect fit! There was no gap anyhwere! Yeah! Doesn't this wing look great? There is a butt-load of work ahead before this wing is complete. The pictures are very misleading. It looks like the wings are almost done when in reality I am only just beginning.