I've been anxious to begin work on the wings but I just couldn't leave the problem of the trim tab rubbing on the elevator out there for later. I moved the wing spars off to the side and pulled the trim tab off the elevator. Then I got my trusty old Dremel out with a cutoff wheel and trimmed off the outboard tabs that were bent and riveted together. These were the rivets that were rubbing against the elevator. I then deburred and polished the edges and then spent a fair amount of time creating a wood rib that I could use to form a new end rib. Performing the bends around this tiny wood block took a little time using the vise, hand seamers, rivet gun with a flush set, etc... Once the rib was formed, it was clamped and drilled to the trim tab. The next challenge was dimpling the holes. I wanted the holes on each side to be offset from each other so the inside ends of the pop rivets wouldn't hit on the inside of the trim tab. I couldn't fit the vise grip dimplers inside this tiny rib. I ended up drilling extra access holes in order to use the pop-rivet dimples. The access holes were for the nail to be able to slip into place. Once everything was deburred, dimpled, and the edges cleaned up, I washed and primed the new rib and then pop riveted it in place. This all turned out very well!!! The edge is nice and straight and the trim tab no longer rubs against the elevator!!! Yeah!!!!
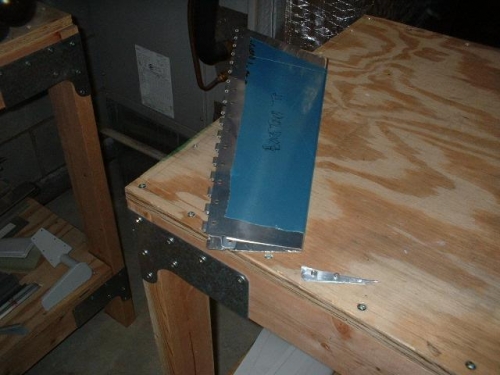
Crooked outboard tabs cut off
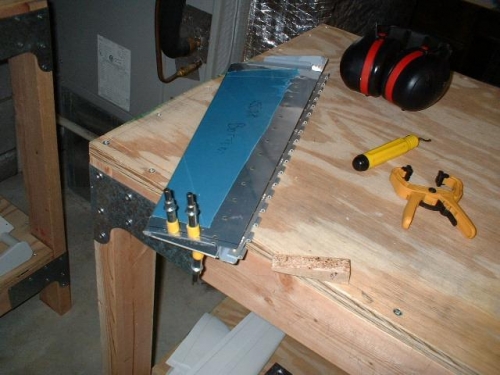
Wood forming block used to form new end rib-rib clecoed in place
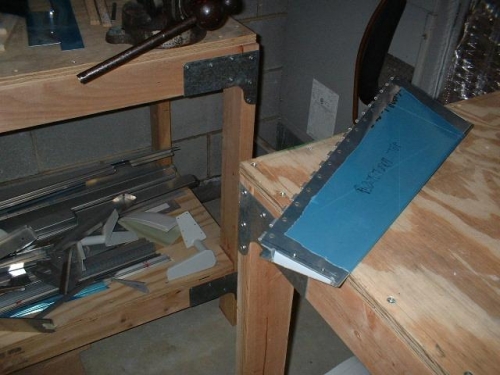
New, straight rib riveted in place; no more rubbing!!!