Brief Description: Install 18awg Alternator Field Wire
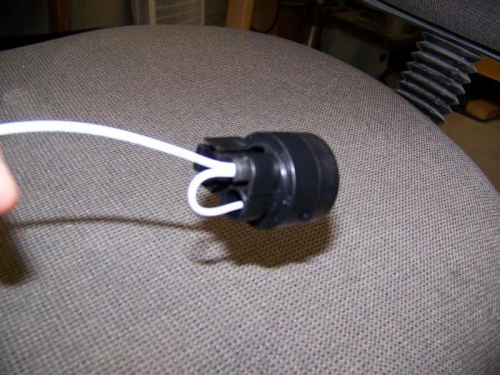
The B&C 60 amp alternator installation instructions say to crimp and solder an 18 awg field wire to one of the parallel terminals and then to also crimp and solder another 18 awg jumper wire to the two parallel terminals. Heat shrink tubing was placed over both connections. Only one field wire is really necessary and in fact the alternator itself has the two terminals jumpered internally as well, but the external jumper provides a bit of redundancy for the connection as well. No wires are attached to the third perpendicular slot in the connector but an empty fast-on terminal was inserted anyway per the instructions to provide an added measure of safety against the connector vibrating loose.
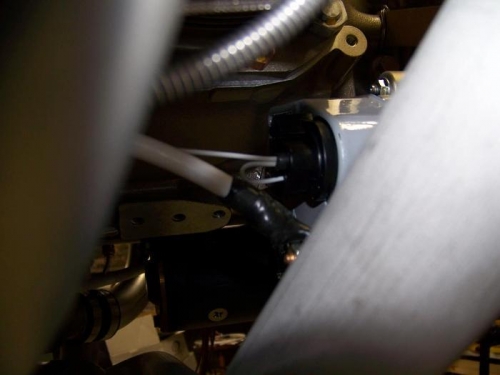
Once the alternator field wire(s) were crimped/soldered to the terminals and the terminals were then snapped into the connector I installed the connector on the back of the alternator and routed the field wire behind the intake manifolds.
18awg alternator field wire and jumper crimped and soldered to connector
Alternator field connector snapped into the back of the alternator
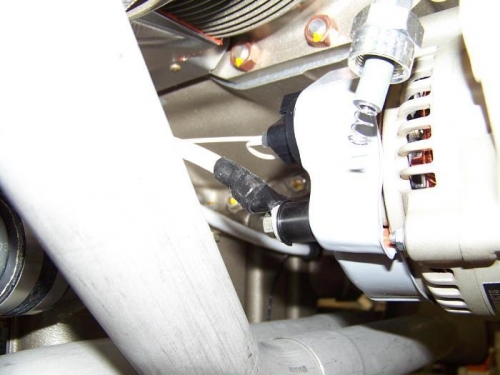
B&C 60amp alternator with field and B-leads attached