Brief Description: Install Canopy on Frame, Drill Plexi to Frame
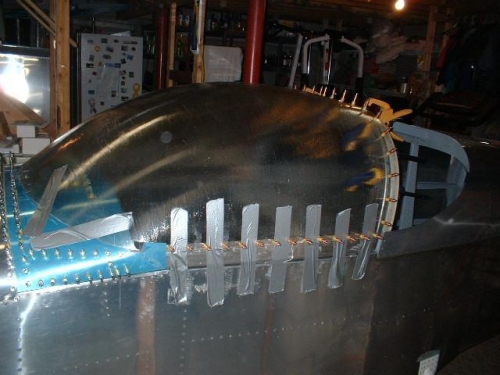
It was time to heat up the basement again and drill the canopy to the frame. I was very nervous about this but it actually went quite well. No cracks! While the basement was heating up I retaped the rollbar again and drew a centerline around the circumference. This will be used as a reference line to do the final trimming of the aft edge of the tip-up portion of the canopy as well as the forward edge of the rear window. Good thing I didn't clean up all of that duct tape residue yet, I would have had to do it all over again. Once the basement was warm enough I had one of the kids help me lift the canopy back onto the fuselage. I then securely duct taped it again to the frame and fuselage.I then broke out the 1/8" plexiglass drill bit and carefully drilled the tip up portion of the canopy to the frame. This involved looking through the plexiglass to the pilot holes that were pre-drilled in the frame underneath and then "shooting" for these holes while drilling through the plexi. It was actually very easy to hit all of the holes. And, since the pilot holes were undersized, the 1/8" plexi bit took care of match-drilling any variances. No need for the duct tape now!I also used the reference line on the center of the rollbar to mark the final trim line along the aft edge of the tip-up portion of the canopy.
Canopy taped to frame and fuselage, then drilled and clecoed to the frame - Left side
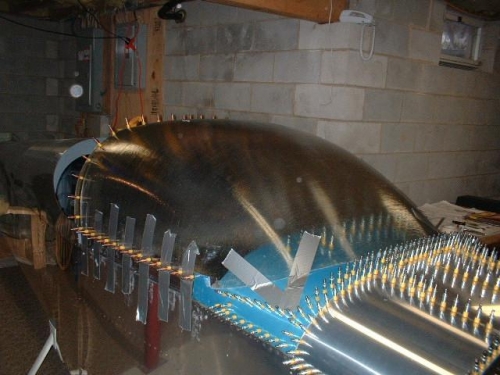
Canopy taped to frame and fuselage, then drilled and clecoed to the frame - Right side
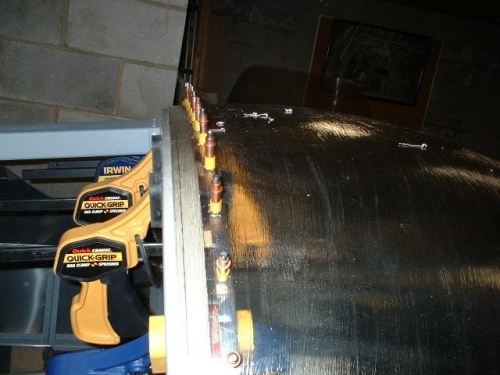
Canopy taped to frame and fuselage, then drilled and clecoed to the frame - Aft edge