Brief Description: Main gear pre-fitted on right side
Before moving to the main gear, I removed the nose wheel, cleaned out the grease I previously used, repacked the bearings with Aeroshell 22 (as specified by Grove), reinstalled the wheel and drilled and installed the cotter pins. Nosewheel done. Just to start the main gear, I had to manuever around under the fuselage to remove the steel support beams that held it level during construction. Next I had to move the rear sawhorse forward to just behind the gear channel. Then I knocked out the roller stand holding up the tail. This allowed me to push down on the tail (or pull up on the engine mount) to put a dolly under the nose wheel. This set up the correct angle for working on the main gear. The rest of my time tonight was spent measuring the exact distance between the front studs on the main gear attachments, so I could notch our the front of my gear down 3mm to center the gear and to keep it from moving laterally on hard landings. Once I placed the gear under the channel, I then placed the lower attachment plate up against the gear to push the gear forward and locate where the stud holes should be drilled. Those were drilled and smoothed until they moved up and down freely. I then cut the rubber hose material used to absorb shock and dampen vibration. My final step was to temporarily install the gear on the right side. Tomorrow I'll repeat this procedure on the left and locate and drill the brakes line holes in the center channel. More details then.
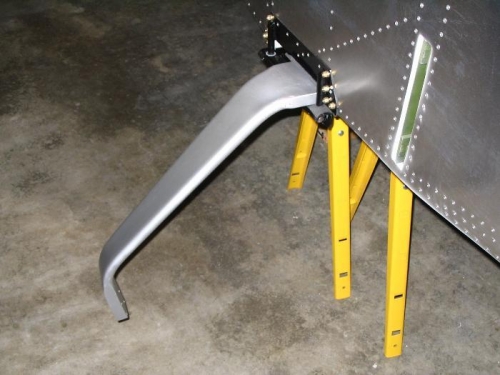
Right side located, drilled and spaced properly
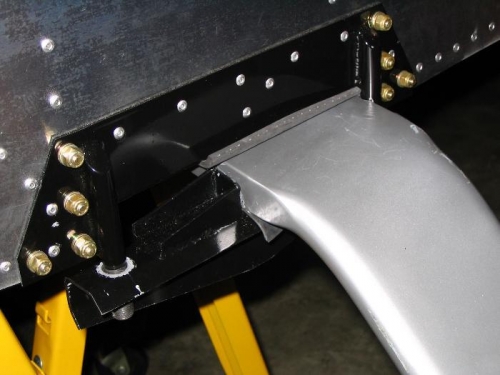
A closer look
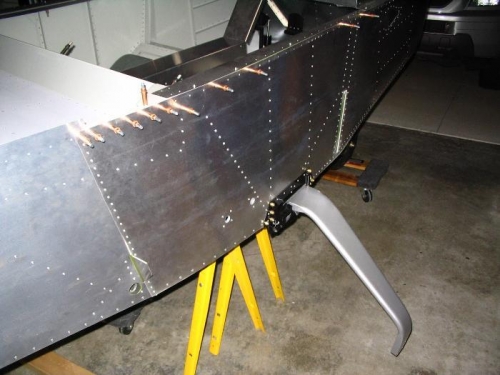
Gear forward in the channel with the flat side facing forward