
|

|
|
|
Larry Winger's 601XL Project
|
Date: 9-3-2006
|
Number of Hours: 0.50
|
Manual Reference:
|
Brief Description: Prepared Rear Rib #3 for re-drilling
|
|
As mentioned yesterday, my drill bit "walked" on my final hole of rear rib #3. After separating all the parts, I was able to see that my hole was too close to the edge of the rib flange, causing it to slide off to the side, elongating the hole in the top skin and messing up the rib flange. Since then I have been on the Zenith list and asked for advice. Dave Clay suggested JB Weld, and Ed Moody provided additional details on how to complete the repair. Based on a combination of all advice, I decided to repair the rib flange tonight with JB Weld and carefully redrill the hole when the skin is back on and in proper alignment. Then, when I am pulling the rivet, I will put more JB Weld in the hole and set the rivet, followed by clean up of any excess on the surface. The additional that stays inside will only make the area stronger. I believe this will produce a very strong rivet that will be indistinguishable from the others after cleanup and light, extra fine sanding/buffing. The lesson to be learned here is this: watch where and how you drill.
|
|
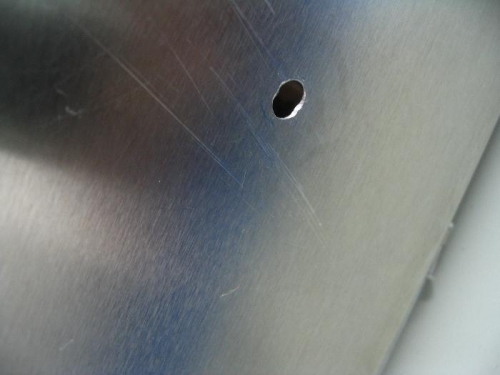
The hole in question
|
|
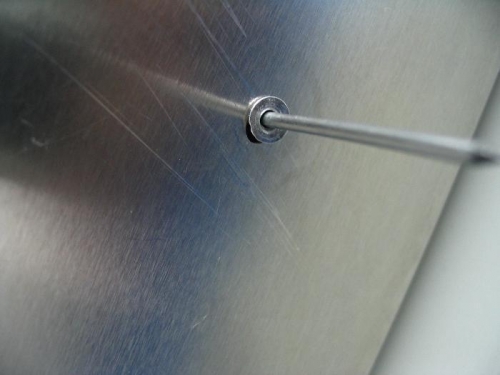
The slight surface gap after rivet placement. The gap may go away after the rivet flattens.
|
|
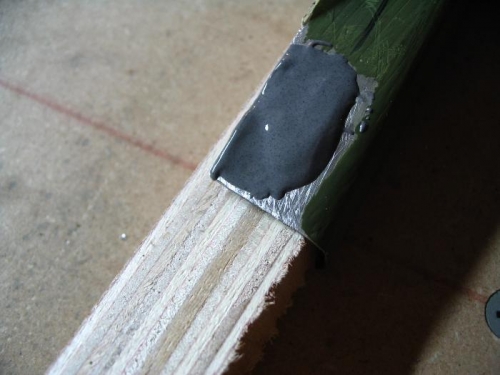
The rib end, with JB Weld on top and a wedge of plywood inside for backing until dry.
|
|
|
|
|
|
|
|
|
Copyright © 2001-2024 Matronics. All Rights Reserved.
|