Brief Description: Attached front engine mounts and secured longerons
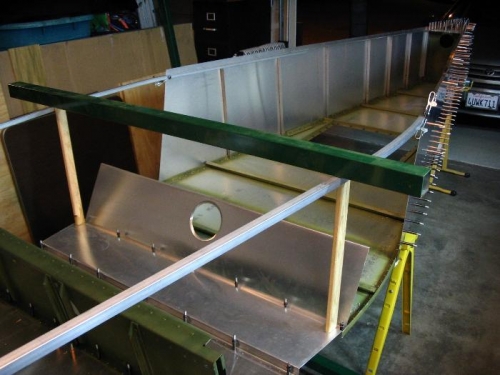
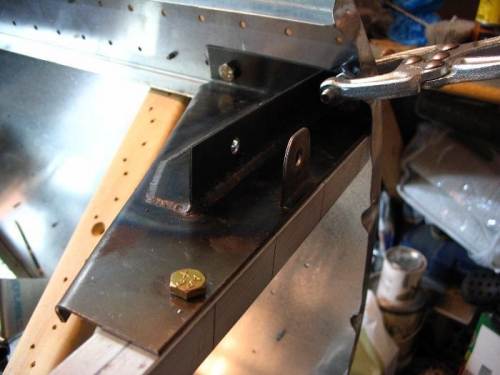
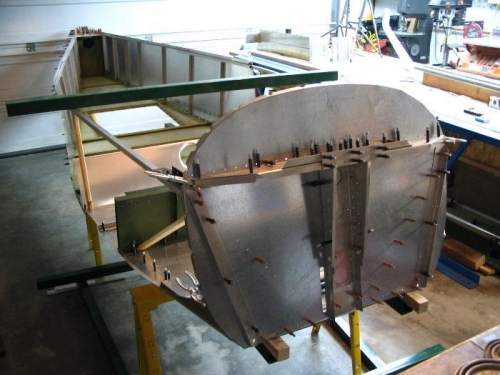
Despite the inordinate amount of time it took, I'm pleased with my work tonight. My first challenge was setting my upper engine mounts in place. The pre-drilled holes in my firewall were 5/16th, as specified for the Rotax and Jabiru engine mounts. The Corvair and Continental engines, on the other hand, require a 3/8" bolt, so I did step drilling using 6 different drill bits to move up incrementally. I did this on both the top and bottom mounting holes. Then I had to mark and drill through the actual mount, which is fairly heavy 4130 steel. The final step was to align and drill the 1/4" secondary support bolt to hold the mount horizontal and secure (a good thing since this also serves as the forward support for the ballistic recovery system parachute). Now that I had a rigid surface to which I could attach the longerons, I clamped and remeasured the longeron heights and the firewall angle. At one point I then added the upright supports between the gear channel and the longeron to further set the level and simulate the height of the side skin on the airplane. The topper (quite literally) it to place a beam from side-to-side over the supports to check for level across the center of the plane. I practically wore out my level, running back and forth cross checking every possible angle. At 11:15pm I beheld what I had created and called it "good." And it was the evening and almost morning of the 730th day (for more details see next entry).