Brief Description: Fabricated brackets for transponder tray.
Today I fabricated a couple of brackets that connect to the transponder tray (the bottom tray in the radio stack) as well as to the instrument panel and the subpanel. The transponder tray was too short to fit into the cutout in the subpanel, therefore, the brackets were made to help support the weight of the transponder.
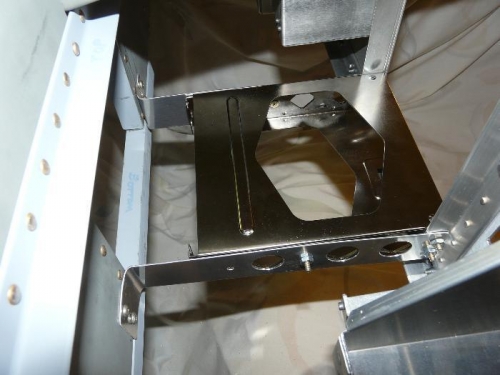
I made the brackets out of 0.040 alcad which has an L- shaped bend that is screwed to subpanel and connects at the instrument panel end with the same screws that holds the tray. I had to cut holes into the brackets that allowed for cooling air. The bracket holes are round and match up with the tray diamond shaped air holes. The brackets are connected with two #8 flush screws inside-to-outside of the tray on each side and fastened with nylock nuts. The photos show cheap temporary nuts holding things together. I still have to add the other trays and then disassemble the whole instrument panel for priming and painting. The brackets are flimsy but become rigid when all the fasteners are tightened. I wanted light weight and that's why I didn't use aluminum angles to fabricate the brackets. Tomorrow I'll add the SL-30 nav/com tray and the Dock for the GPS 496.
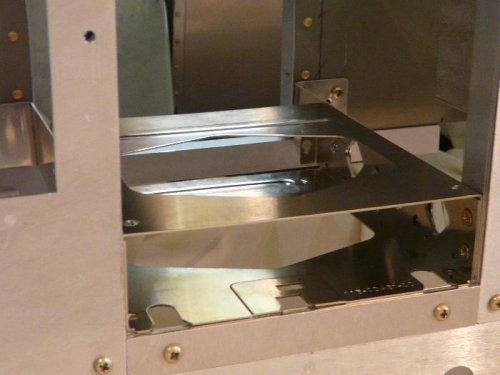
Front view of transponder tray at the bottom of the radio stack.
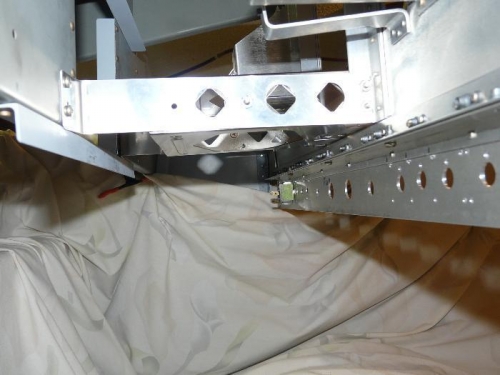
Side view of bracket that connects the tray and subpanel to the instrument panel.