Brief Description: Finished cutting holes and temporarily monted to p
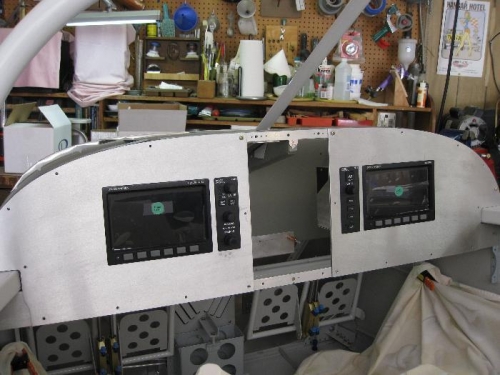
After some more filing on the right panel, I inserted the D100 and AP74 and then mounted both panels onto the frame in the cockpit. I just wanted to be sure there was ample room behind the instruments for the wiring, static, and pitot lines. The center stack will be a GTX327 transponder, a SL30 nav/com, and a GPS 496. I'll have to fabricate the framework for these instruments out of 0.063 x 3/4 x 3/4 aluminum angle which will hold their trays. Still a lot of work just adding radios to the panel.
I used my thin Sharpie to mark around the Dynon trays while they were inserted into the panel plates since it seemed impossible to match drill them to the panel plates. I later marked the hole patterns on the trays and then drilled them on the drill press. After deburring the #40 tray rivet holes, I clamped the trays to the previously marked position on the plates and then marked the rivet holes using a 90 degree bent scribe. The edge distance on the tray rivet holes negated my efforts to use a thin Sharpie or a drill bit to mark the rivet holes. I finally drilled the plate rivet holes on the drill press. Everything seemed to come out OK, but I hate it when you can't match drill.
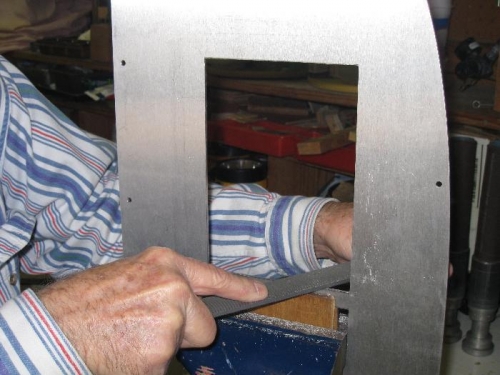
More filing and deburring.
Both panels with EFIS' inserted just for a look.
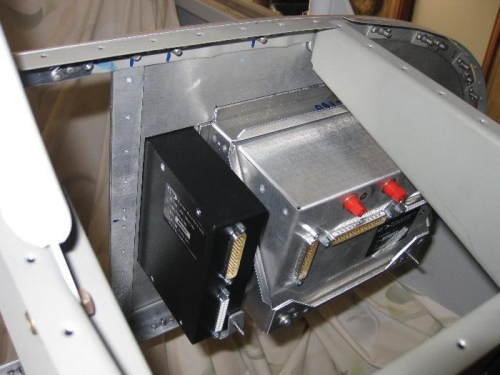
The D180 & HS34 from the rear. The trays aren't yet riveted.