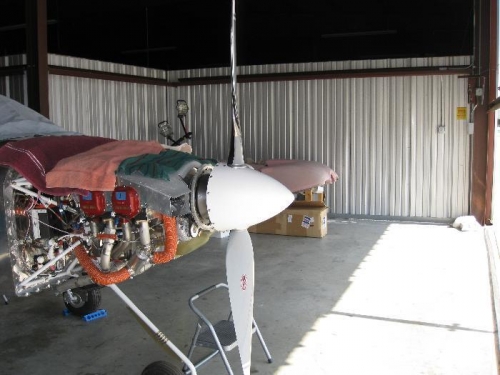
Brief Description: Installed the Whirlwind 200RV prop.
We installed the Whirlwind 200RV prop today. We took our time but still made many mistakes and backtracked through many steps that were confusing to us.
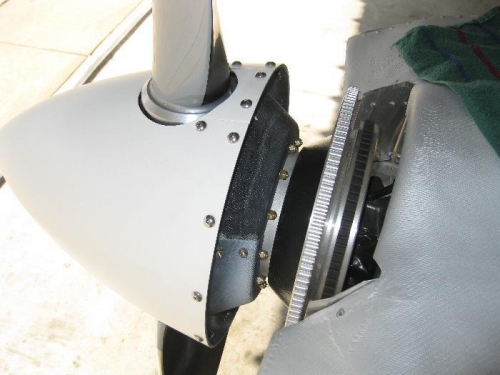
Before installing the prop we checked the tightness of the alternator belt and safety wired the bolts. The spinner bulkhead is made of composite material in two halves that are bolted to the metal attach plates that are part of the hub assembly. Two temporary metal arc plates are bolted to the attach plates to hold the plate holes in alignment for the bulkhead as you tighten the prop studs to the ring gear.
Getting the prop studs started by a thread or two was no easy task. My brother held the prop and hub (38 lbs) while I tried to get the studs started. We then alternated the studs opposite each other using 3/4" open end wrenches. It took quite a while to screw them in all the way. We then used a beam type torque wrench and the AntiSplat prop wrench to torque the 7/16" studs to 47 ft-lbs. We then had to safety wire two studs at a time for all six studs. No easy task, especially for rookies!
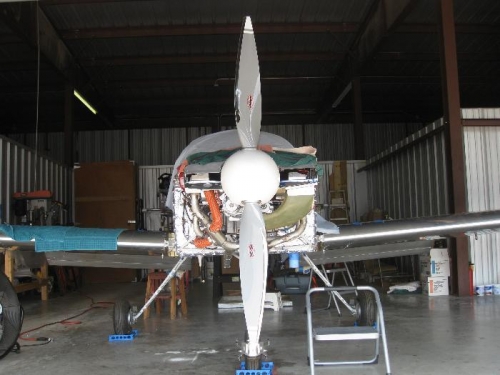
One then proceeds to assemble the spinner bulkhead after removing the arc plates. It was not easy to get your hands in to add the bolts, washers, and nylok nuts, but we finally got everything installed as the temperature rose to over 100 degrees. We should have taken more water!